Embedded Projects
This page is a collection of all my embedded projects, from teardowns and reverse engineering, to documenting setting up toolchains and building custom projects.
-
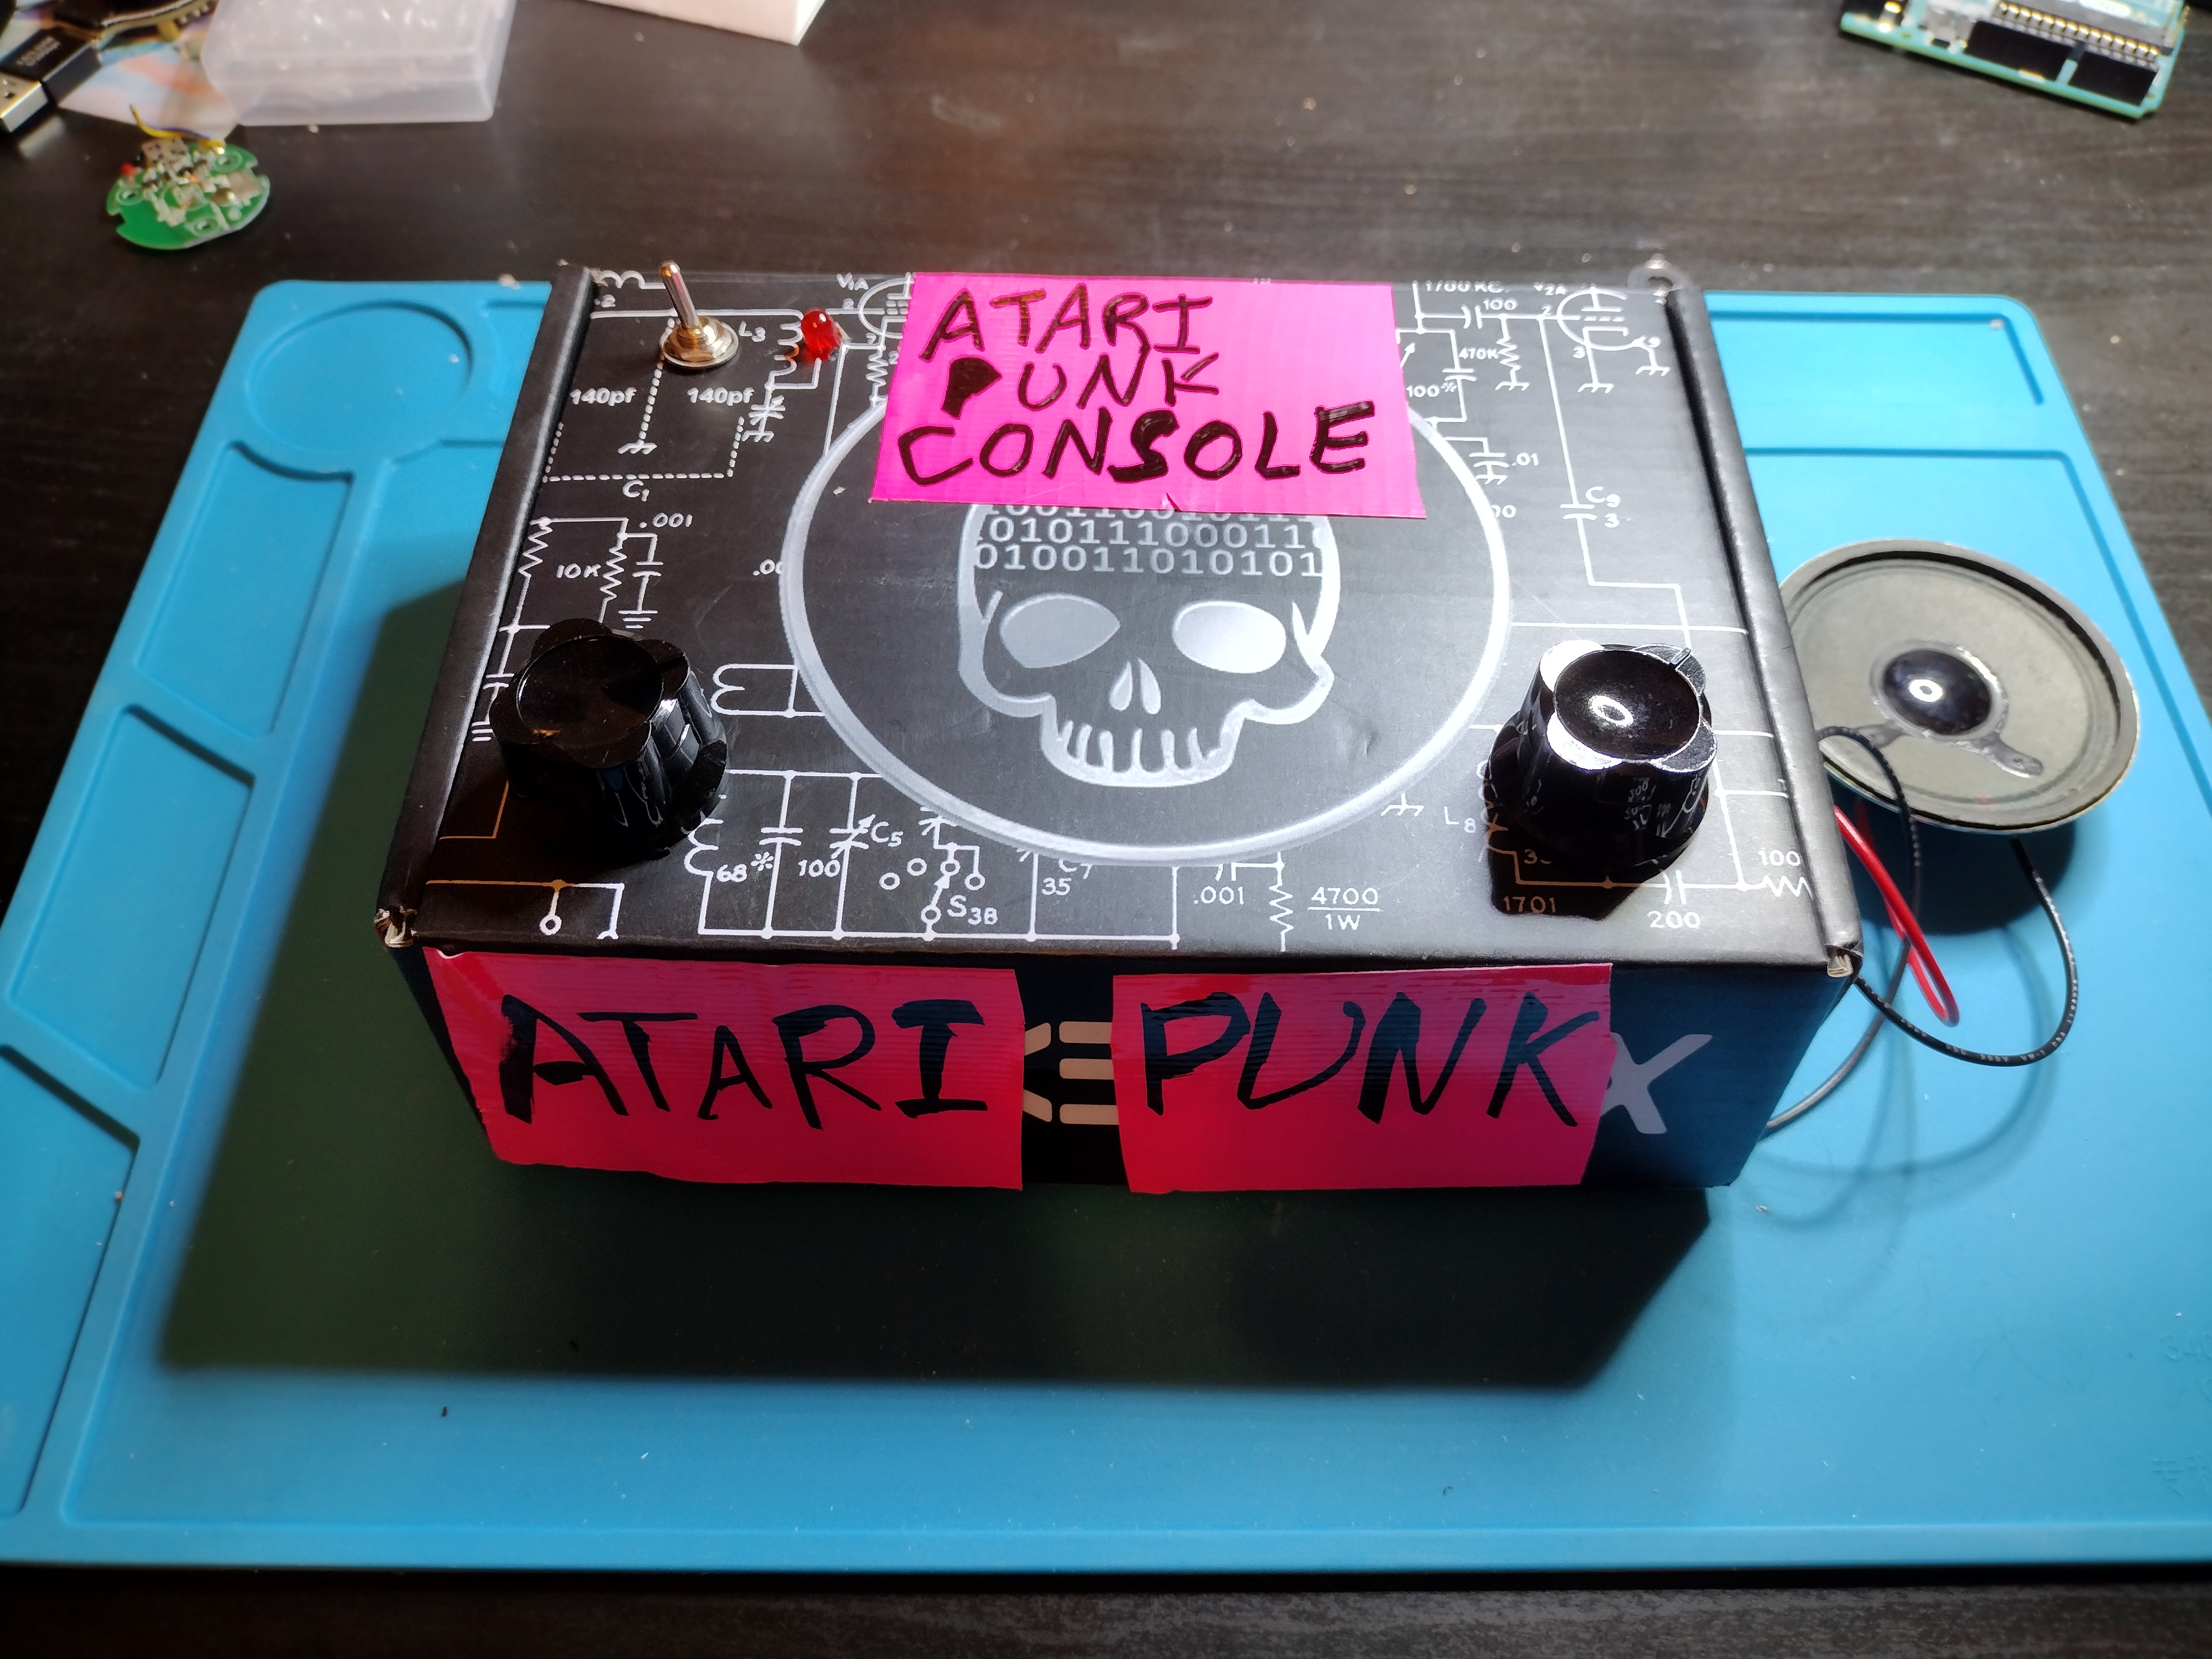
Analog Noise Machines - Simple Oscillators and the Atari Punk Console
You ever feel like you just want to make some noise? Maybe a horrendous noise? And you want to use electronics to do it? Well do I have some fun projects for you, lets dive into the world of simple analog noise makers!
-
Tracking Drones with Remote IDs - Panicking with the Colonel
Since I already talked about the Remote ID protocol and how it was broadcast, you might now want to actually listen to those Remote ID messages around your home. There’s certainly commercial-grade solutions for that, but maybe you don’t want to drop a thousand dollars or book a meeting with a company so you can buy it, all for a fun sidequest. Instead, lets look for some slightly cheaper and easier to access options, and see what Remote ID functionality they support, and what they don’t.
First up: The first drone detection hardware/firmware I came across, Colonel Panic’s Sky-Spy! I’ll review the hardware and firmware functionality, how to DIY the hardware if you’re feeling cheap, and include a bonus of some forked code that I’ve started working on!
…I had originally planned on doing one overview post of all current available options…but then I got nerdsniped. So I’ll be going more in-depth on each.

-
Tracking Drones with Remote IDs
Drones have gotten more and more popular lately, from filming fun things on social media, delivering packages for Amazon, being used by law enforcements in the states, all the way to being used in the ukraine war. Understanding the technology and building tech to track the drones seems very useful. We’ve had public tracking of airplanes via ADSB for years at this point (see my previous post about setting up your own flight tracker with ADSB), but no equivalent with drones. Partially this is because drones, up until recently, didn’t really have ways to track them, unless you were visually tracking them or doing some advanced radio frequency shenanigans.
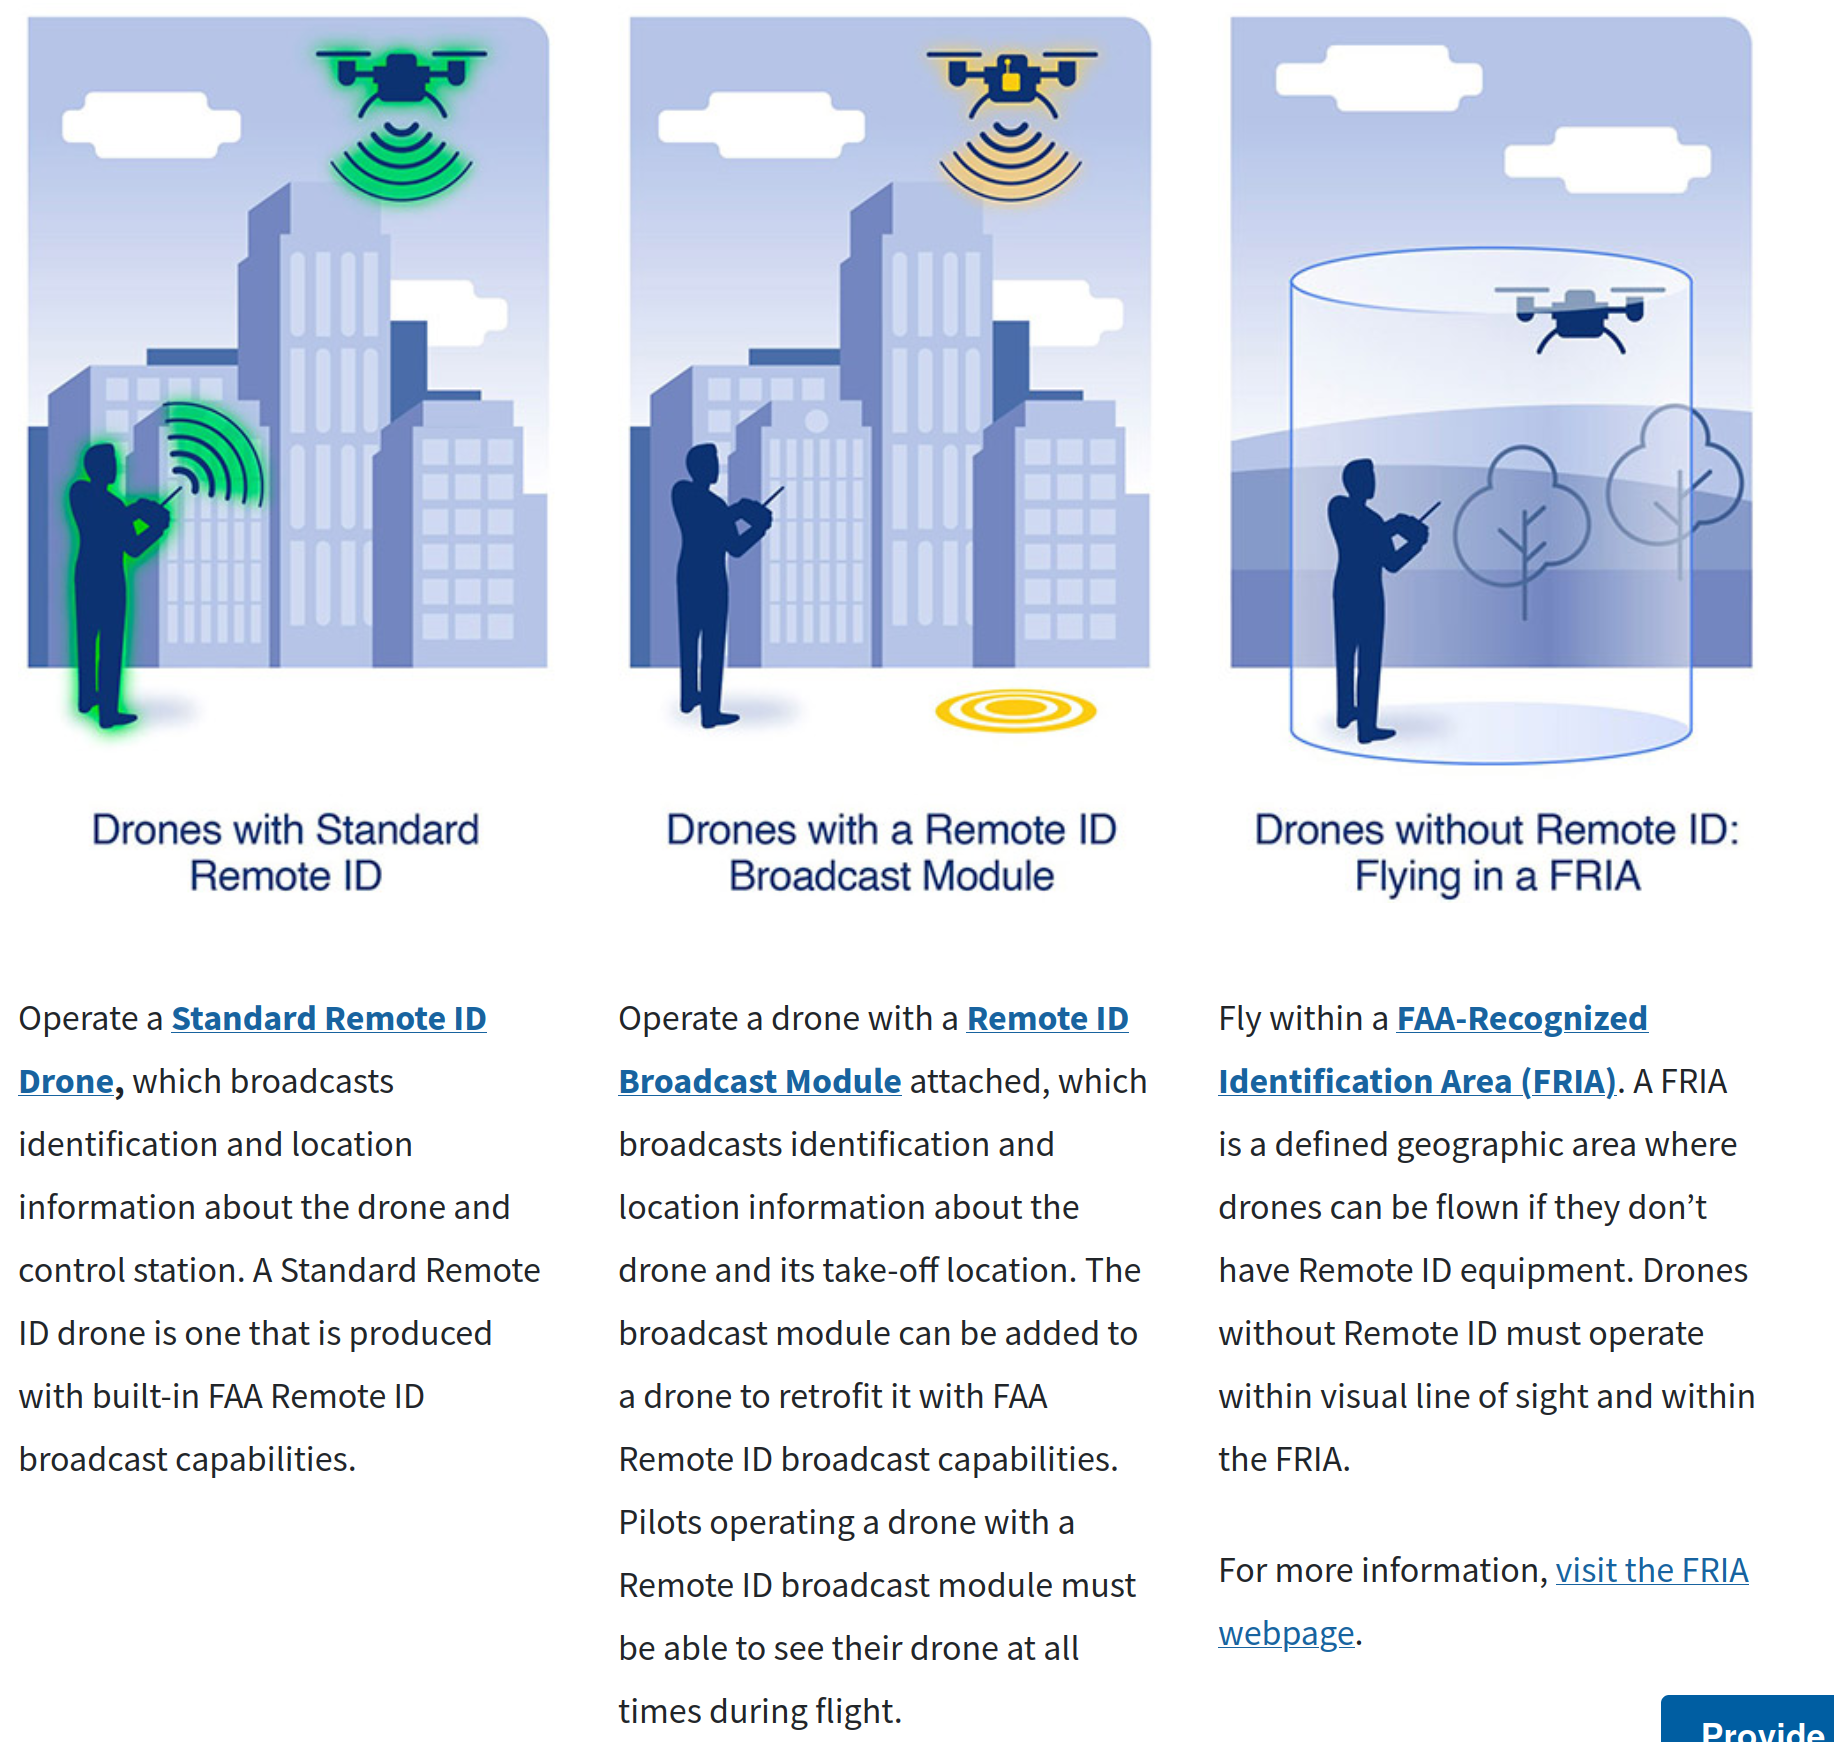
That has changed relatively recently (in 2023) when the FAA started requiring Remote IDs for drones, the functional equivalent to the broadcast ADSB info, but for drones specifically. Specific information about the drone, its location, and the drone operator are broadcast in one of the variety of ways specified by the standard put out by the ASTM (a standards governing body), which is charmingly named “F3411”. With this new ability, it’s possible to start tracking and aggregating drone flight information, same as ADSB. As the FAA website shows (screenshot below), there are now several ways to be compliant with the remote ID requirements, and 2/3rds of the ways require actually broadcasting the info. Lets take a look at this new protocol, and poke around at some sample packets (or generate our own).
-
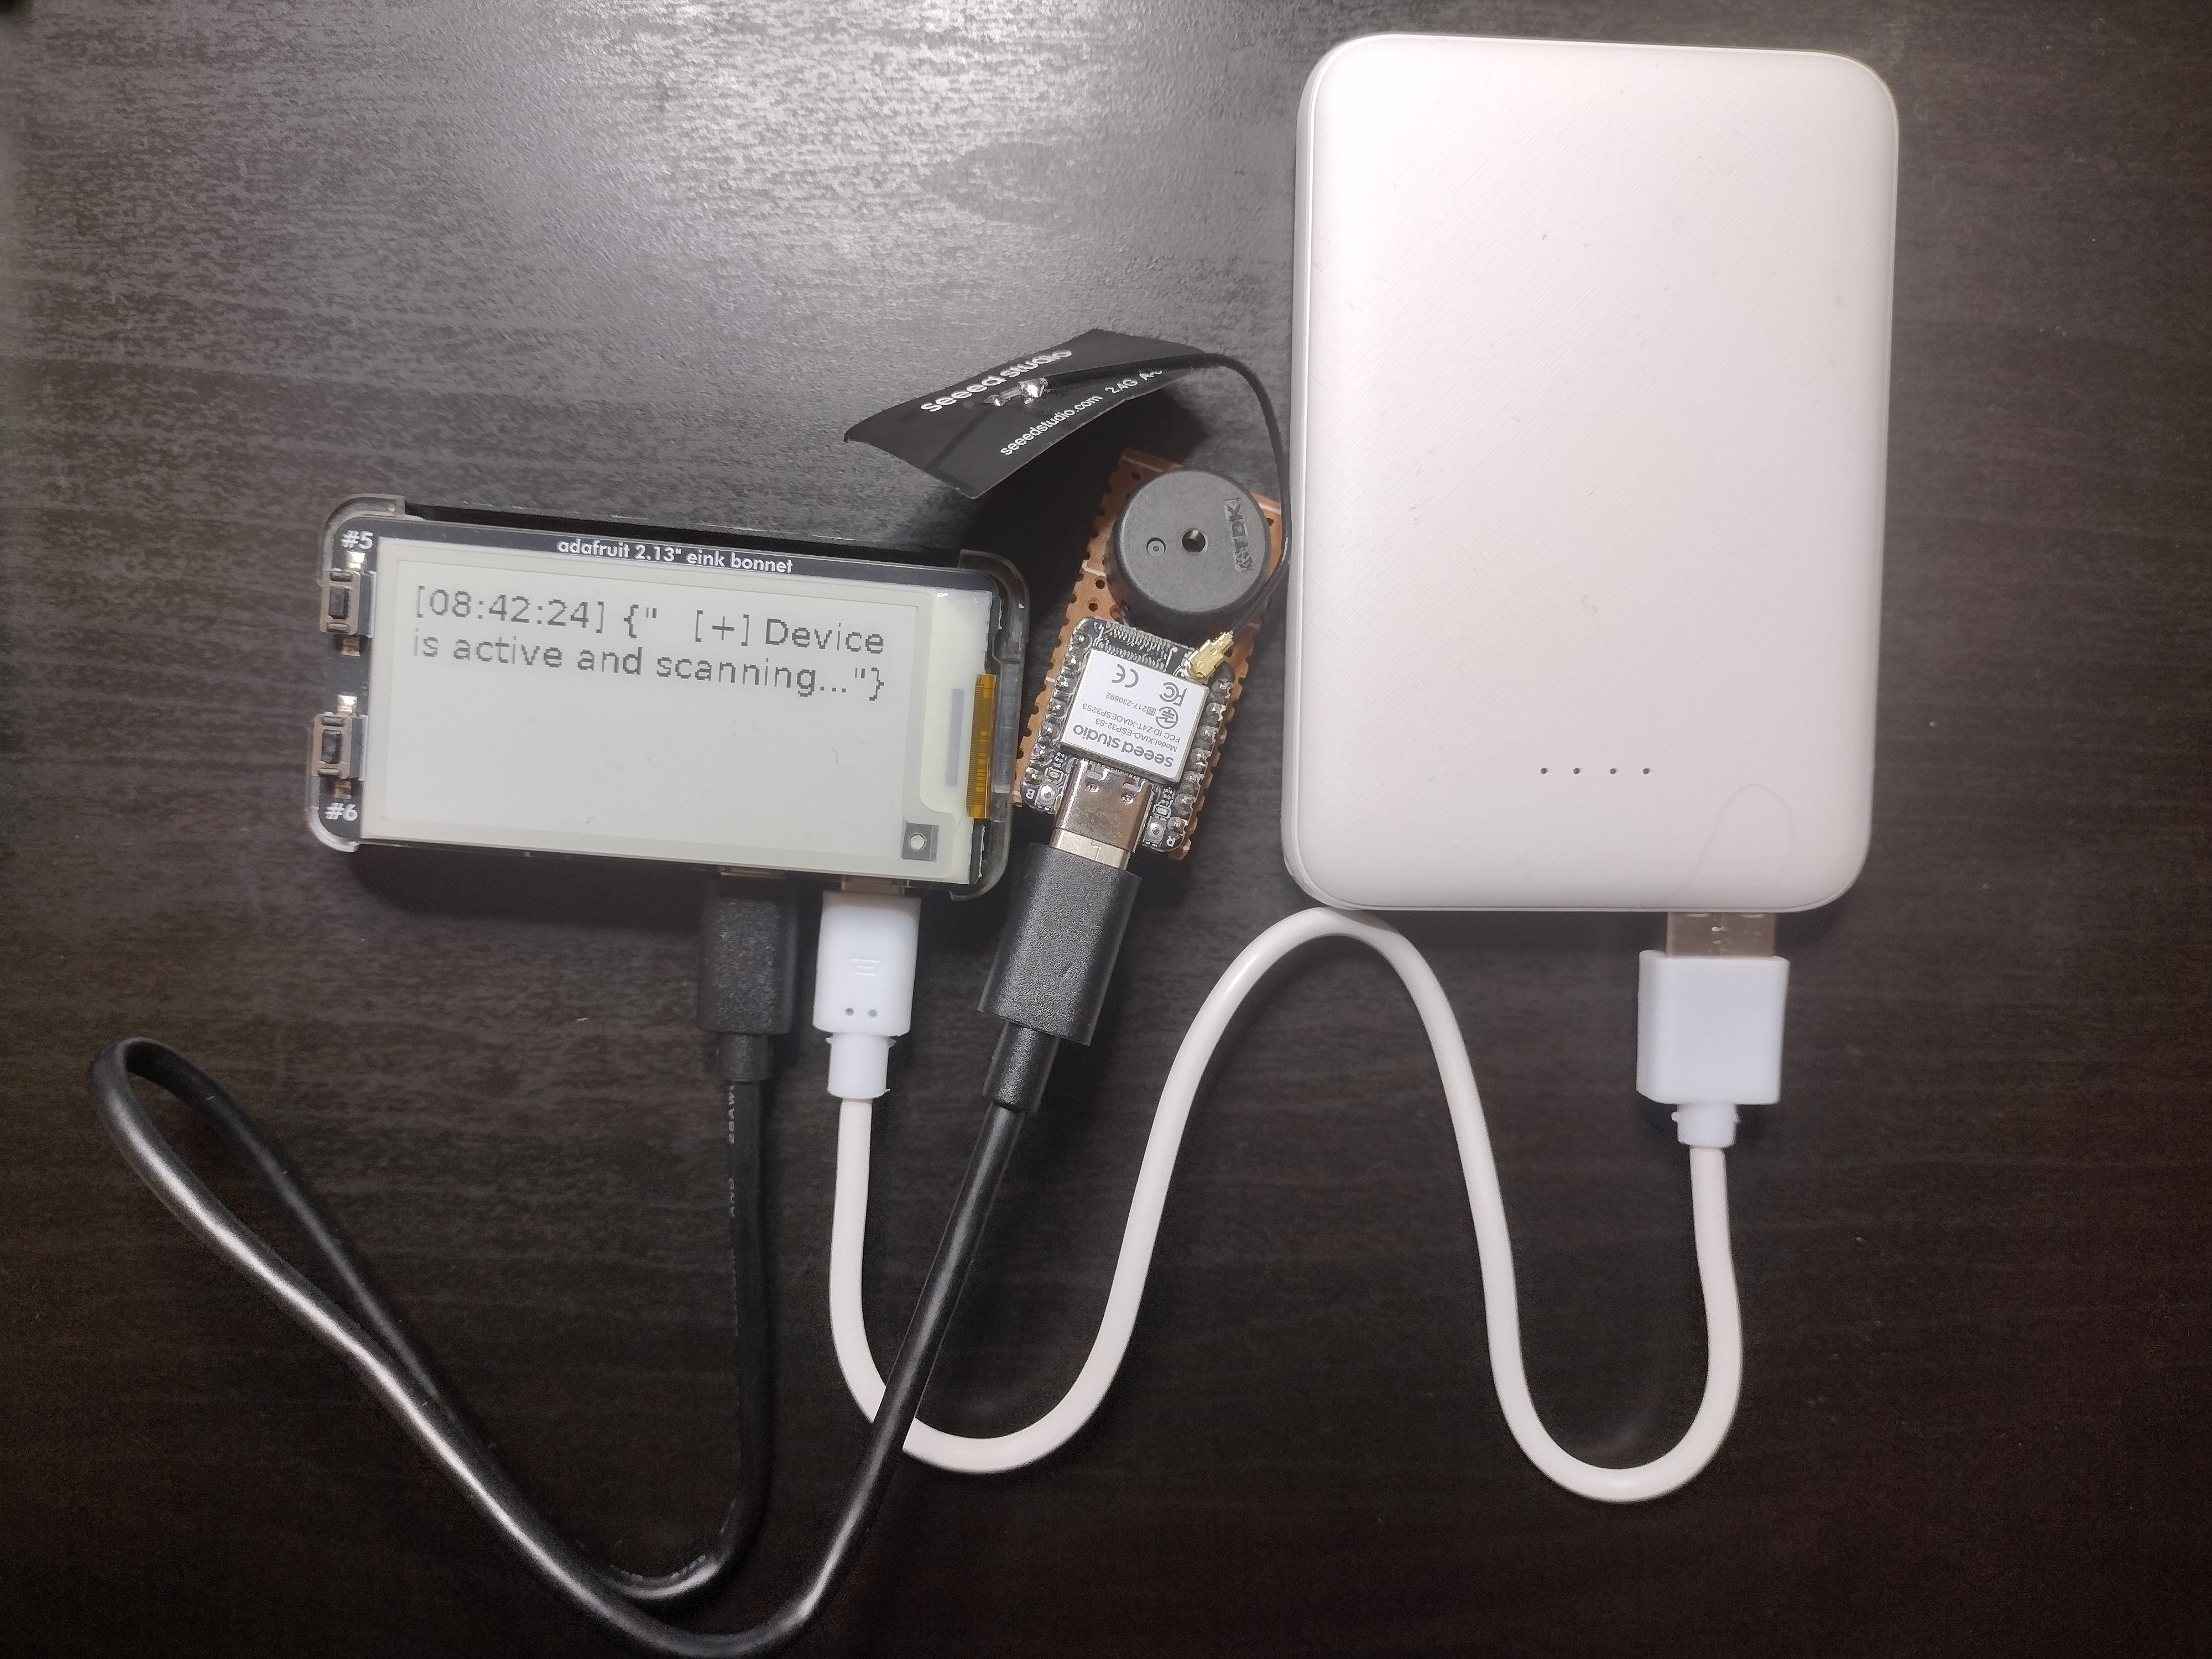
Have E-ink; Will Travel - Serial comms with raspberry pi and e-ink
Playing around with different development projects, there’s often a need to listen on a USB serial port connection to see log outputs. If I’m making a device that I want to test out in the wild, without a full display yet, it’d be nice to have a grab-and-go tool for that. So, I decided to put together a raspberry pi zero I had lying around, plus the adafruit e-ink bonnet and a powerbank, to let me read serial logs on the road.
-
Tracking Aircraft with a Software Defined Radio
Radio has always been a side interest of mine, but seemed too convoluted for me to easily get into. However, now with Software-Defined Radios (SDR), things started to shift into the software world, so I started to get my toes wet. One use that seemed pretty popular was tracking airplanes, so I thought I’d give it a go.
I had previously setup an ADSB receiver using the adsb exchange raspberry pi image, and found it a little finicky. I also had other uses for the pi, so I ended up retiring that setup, with the eventual plan to get it back up and running “sometime in the future”. Which turns out is around now! (don’t…don’t ask how long it was since I did that setup the first time)
This time, I came across a different raspberry pi image that was actually default included in the rasperry pi imager tool, called ADSB.im, and decided to give it a try again. I’ve had it setup for about a month now (probably more once this is published!), and have learned a lot, so I thought I’d share.

-
Bluetooth Low Energy and Reversing a Smart Lightbulb
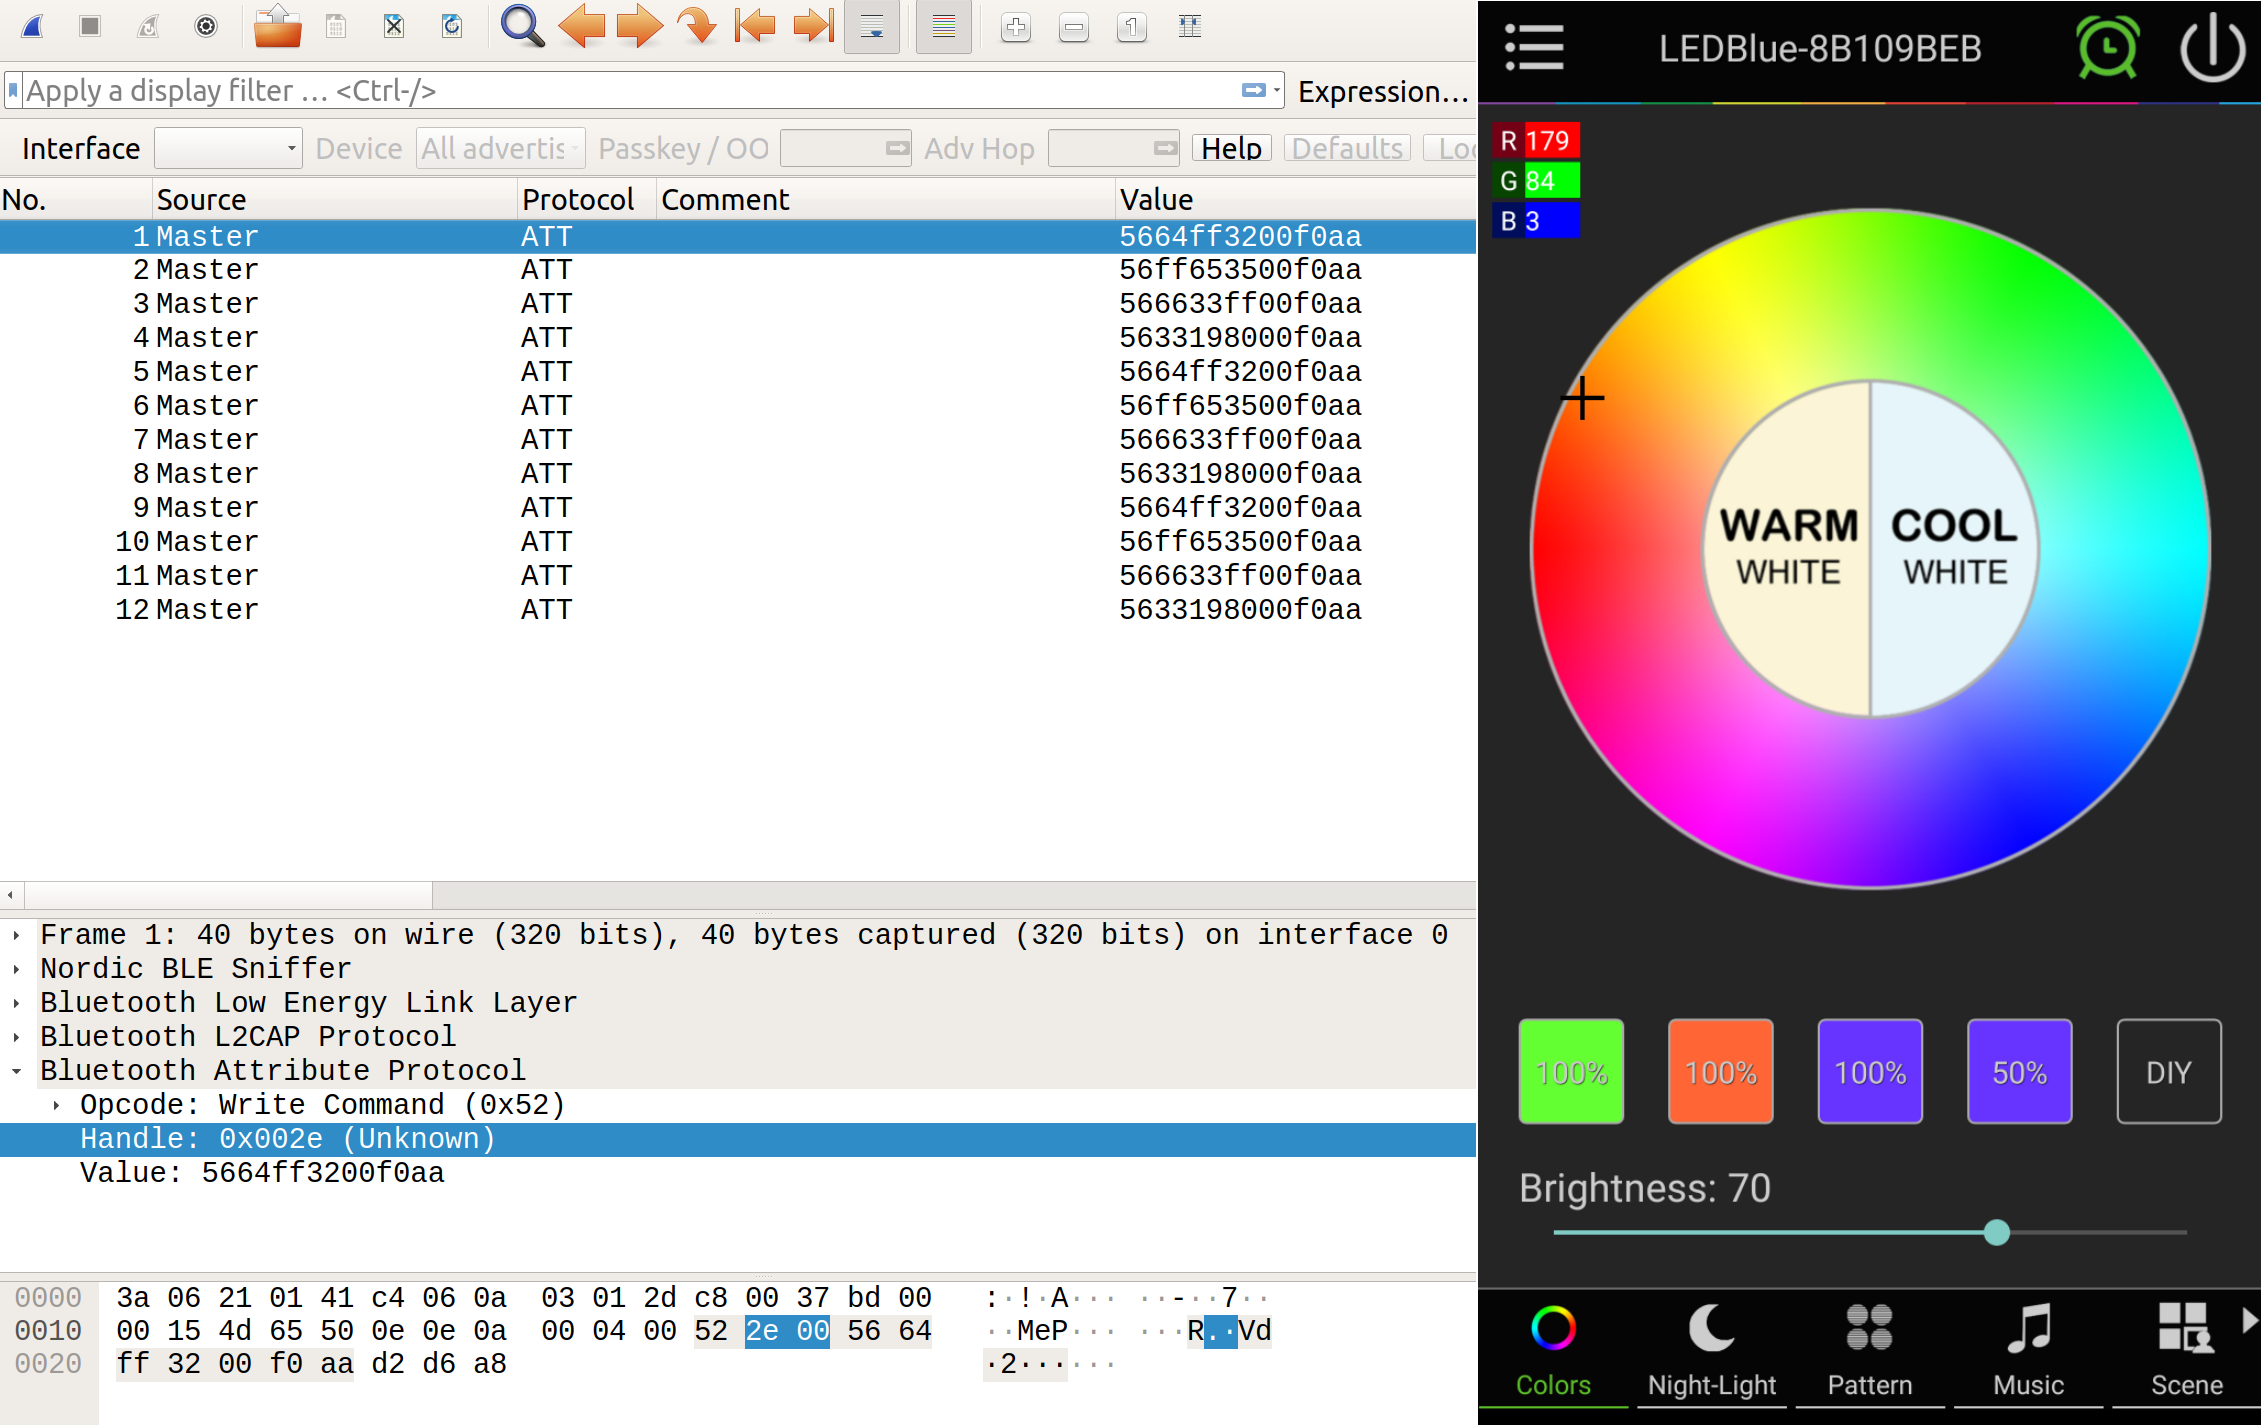
“Smart” things are the wave of the future! Everyone wants some bit of tech that already exists, like a lightbulb, but now controlled through an app! Or at least, that’s what marketers have decided on. But sometimes the companies maintaining the app goes under, or decides to not support what you bought anymore, and your fancy smart lightbulb becomes, well, a $35 lightbulb.
I recently got my hands on an old bluetooth lightbulb that was first made in 2015. But the phone app to control it is clunky and ugly, and hasn’t been updated since 2018. So if I want to still use it now, the options are to have an unmaintaned, potential security-risk app on my phone, or not use it. Or, be me, since I’ve been itching to learn more about bluetooth low energy. In which case, it becomes time to do some reverse engineering!
-
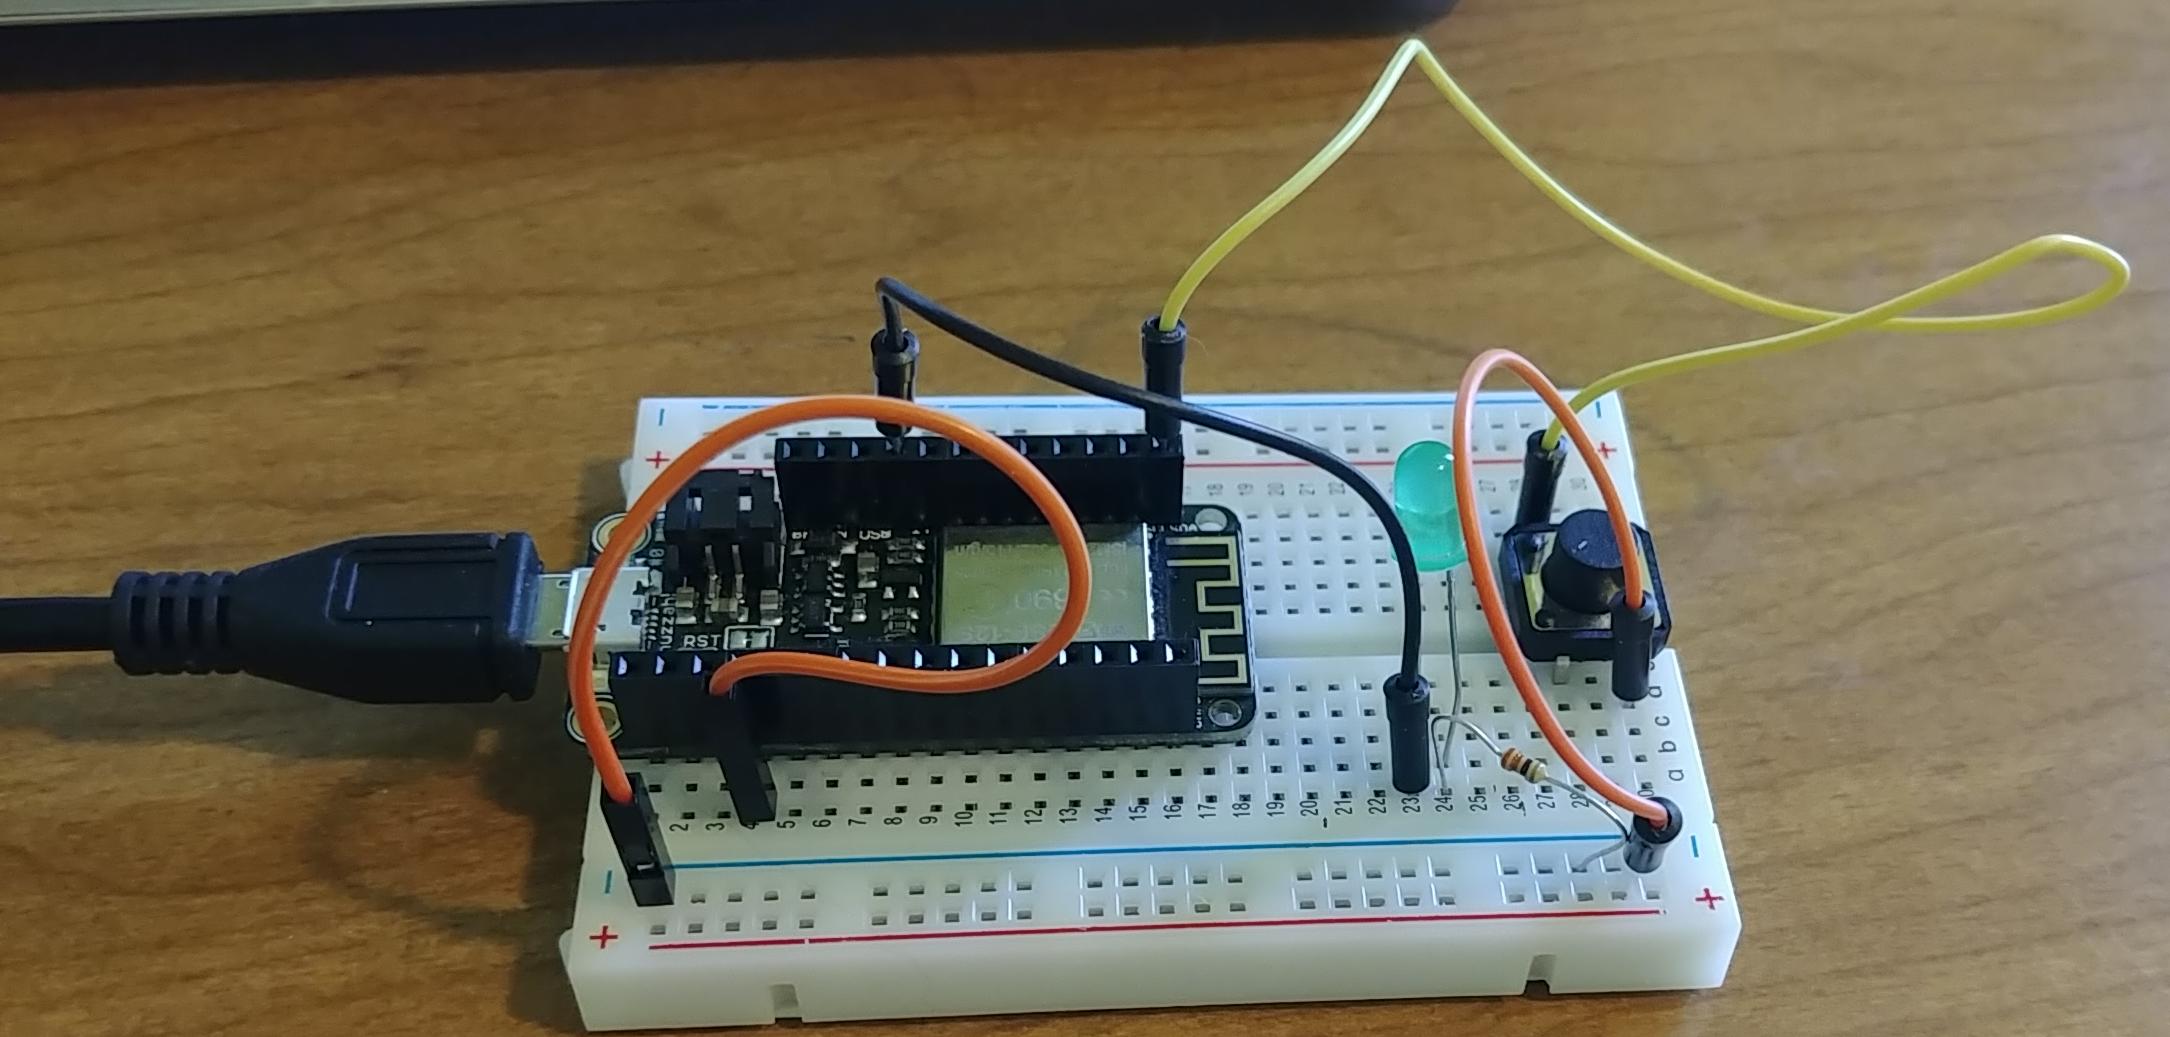
Using Interrupts on the Adafruit Feather Huzzah with ESP8266
It doesn’t take long learning embedded systems before you come across interrupts. Learning how to make your embedded system quickly react to changes in the real world (button presses, motion sensing, whatever) is often a default requirement for any fun projects. Since I’ve been programming on the Adafruit Feather Huzzah with ESP8266 (a mouthful, I have to say), I decided to use that for some hands-on learning.
-
How to use Quadrature Rotary Encoders
As part of a project I’m working on, I wanted to have a nice rotating switch that let me flip between different options. Googling around, I discovered that apparently meant I needed a rotary encoder. I bought one from adafruit, only to realize I had no idea how to use it. And oddly enough, Adafruit didn’t have a pre-existing codebase I could pull from. It was time to read some datasheets, do some experiments, and figure out how to use it.

-
Setting up ESP8266 with VSCode, Arduino, and Make
Continuing my exploration of embedded systems, I decided to try my hand at the ESP8266, a popular microcontroller. It’s apparently being phased out and replaced with the ESP32, but it still has a lot of fuctionality, and perhaps more importantly, I already had one on a dev board laying around.
Because I’m all about learning, and also about doing things the hard way, I decided to use a different toolchain setup than what Adafruit suggests (which is just using the arduino ecosystem). Instead, I’ll go for something a little more complicated…
-
Mindfulness Bracelet, Learning Batteries, and Forgetting to KISS
Setting up Blinky on various microcontrollers is one thing, actually having a working embedded system is another. So, I decided I needed something relatively easy, that preferably used what I had around already, and used the conductive thread that I had recently gotten from Adafruit as a present.
After some thinking, I came across a simple idea: I’ve been stressed a lot recently, and my back has been storing that all in the form of painful knots. So how about I made something that let me remember to relax my back throughout the day! I didn’t want to have yet another app sending notifications, so how about something that buzzed, maybe a wearable watch? I did some googling, and came upon the Adafruit mindfulness bracelet. I already had the Gemma M0, and I could use conductive thread to sew the circuit onto a simple nylon bracelet. AND the code was obviously really simple, just wait a minute or two, then vibrate, then wait. It would be a simple and quick project to dip my toes into full embedded systems!
Or so I thought.
-
Getting started with STM32 black pill - Getting blinky with STM32Cube IDE
Now that I’ve dipped my toes into the microcontroller world, lets cannonball in with the world of STM32 microcontrollers. There’s a ton of different microcontrollers that are all STM32, but I’ll be starting with a relatively easy starting microcontroller. It’s easy because it comes on a cheap development board that doesn’t require any custom PCB work, and it has a funny nickname. I’m talking about the We Act Studio’s STM32F411 dev board, nicknamed the “Black Pill”. It lets me start figuring out the embedded toolchain immediately, without having to dive too deep into the hardware side. Though I’ll still be looking at schematics, since they’re important and it’s good practice.
-
Programming an ATmega328p without the Arduino IDE
Now that I have an AVR programmer and the ATmega328p on its own breadboard (as I documented here), I want to remove my dependence on the Arduino IDE download. So no more using tools that arduino IDE downloaded for me! My rough plan is as follows:
- pick a different IDE for writing my code
- either write C code without any AVR-specific libraries, or find a SDK
- download avr-gcc so I can compile my code
- download AVRdude so I can send my compiled code to the ATmega328p
- figure out if there’s any other things I have to download or run?
-
Directly Programming an ATmega328p from an Arduino Uno
So Arduino’s brains is a ATmega328p microcontroller. On the standard Arduino Uno, it comes as a chip that you can remove from the board, so if you fry it on accident, you can replace just the chip instead of the whole board. So is it possible to remove all the stuff Arduino gives you, take just the chip, and directly program the ATmega328p?
Well I came across a youtube playlist recently that gives a resounding yes, yes you can. Mitch Davis’ Bare-Metal MCU playlist walks you through taking all the helpful things Arduino gives you, and removing them one by one. This sort of content is exactly up my alley, and I realized I had an Uno kicking around, plus a sparkfun version of an Uno, a sparkfun redboard. Why not follow along?
-
Netgear DM 200 Modem Breakdown - The Hardware Side
Now that I’ve poked around the software side of things on my DM 200 modem, it’s now time to poke some hardware!
-
Netgear DM 200 Modem Breakdown - The Software Side
Motivated by miscellany blog posts, I decided to try my hand at poking around an old modem I had lying around.
-
Game of Life on the NeoTrellis M4 Express
Once upon a time, I was subscribed to Adabox ( https://www.adafruit.com/adabox), a quarterly subscription box that sends a collection of hobby electronic components that are ready for you to use in projects. Each box comes with a page online that shows different projects you can make with the products you get, and links to more documentation about each product. Honestly it felt perfect for me, someone who loves tinkering with microcontrollers (I’ve built out a pi-hole ( https://pi-hole.net) and a fun cyberpunk halloween costume ( Cyberpunk Hacker Costume) before), but is also pretty new at figuring out what wires and alligator clips and connectors I’d need for what microcontroller. Unfortunately, I was always swamped at work, so I never had the time and energy to dive into the boxes, and I canceled after it became clear they were piling up without any projects being built.
-
Halloween 2018 - Cyberpunk Hacker
This last Halloween I decided to pull out all the stops and finally use my Adabox tech ( https://www.adafruit.com/adabox) to make a fun CyberPunk Hacker costume for my work’s Halloween costume competition. After a quick trip to Goodwill and Value Village, I had some suitably punk-style clothing. I got some spray-on blue hair dye (and a lot of hair gel) and all I needed was some cool looking tech to complete the outfit. Below is a short write up of my tech and code, with links to the code on github. None of the code is super polished, since I did all of this over a long weekend right before Halloween, but it certainly works. And I gotta say, work feels a lot more fun when you’re in full hacker gear, even when you’re just debugging a weird JavaScript bug.