Programming an ATmega328p without the Arduino IDE
Now that I have an AVR programmer and the ATmega328p on its own breadboard (as I documented here), I want to remove my dependence on the Arduino IDE download. So no more using tools that arduino IDE downloaded for me! My rough plan is as follows:
- pick a different IDE for writing my code
- either write C code without any AVR-specific libraries, or find a SDK
- download avr-gcc so I can compile my code
- download AVRdude so I can send my compiled code to the ATmega328p
- figure out if there’s any other things I have to download or run?
This is a part of my series on programming atmega328p
For more posts on this, see below
- Directly Programming an ATmega328p from an Arduino Uno
- Programming an ATmega328p without the Arduino IDE (You are Here)
Note - this is all done on an Ubuntu machine, so instructions are for linux, not windows
According to the embedded for everyone wiki, there’s an embedded toolchain you have to build up in order to actually program and debug an embedded system. It consists of:
- a code editor - something on your computer to edit your code
- an SDK (software development kit). AKA a library/framework that abstracts some aspects of developing for the given MCU to make it easier to program
- Compiler/linker - Converts the application code into a binary which can be executed by the target MCU
- Adapter driver - a driver on your computer that talks to the debug adapter
- debug adapter - a physical piece of hardware, converts programming and debugging signals from your computer to the format understandable by the MCU
- debug software - runs on your computer and connects through the adapter driver and debug adapter to the debugging features on the MCU
The Arduino IDE implements the first couple items. It’s a code editor, has a built in SDK, and compiles/links the code. From my understanding, the “debug adapter” is somewhat similar to the AVR programmer I’m using, in that it’s a physical piece of hardware that communicates between the USB port of my computer, and the individual pins of the ATmega328p. I did some research, and it looks like AVR microcontrollers (which the ATmega328 is a member of) have a proprietary protocol called debugWIRE that allows on-chip debugging https://en.wikipedia.org/wiki/DebugWIRE. You can only use this protocol by buying extra pieces of hardware, some of which can be pretty spendy (Atmel-ICE is 160 at the time of this writing). Since this project is mainly a first-step-into-microcontrollers, and I plan on expanding into STM32 and other microcontrollers, I think I’ll skip on the debug portion of this toolchain.
Arduino doesn’t support on-chip debugging, so they just skip that part of the toolchain. And Arduino doesn’t need a separate programmer like when I program the ATmega328p directly, because ATmega328p microcontrollers that are on Arduino Unos come pre-programmed with a bootloader. The bootloader is a bit of code that lets you plug the Uno directly into the computer, and load custom code on the ATmega328p without extra hardware.
The IDE
This one is simple. I’ve been using Visual Studio Code for a while, and am comfortable moving around in it. It has a built-in terminal too, so I’m sure I can figure out how to use all the other tools in here. And since I’m skipping debugging on-chip, I don’t have to worry about any custom debug software that I would need to incorporate into whatever IDE I choose.
Writing code for the ATmega328p
Without the Arduino IDE, I no longer have access to the Arduino SDK. So when I copy the standard blink.ino file into Visual Studio Code, I get a ton of errors. It doesn’t know what digitalwrite() or any other function is, it doesn’t have a main() function, it’s just a mess. The reason it worked in the Arduino IDE is because the IDE isn’t JUST a text editor. It has a bunch of C libraries that hide a lot of the complexity of programming an MCU. In my case, I don’t want to hide the complexity though, so it’s gonna get more complicated. Happily, Mitch Davis’ playlist walks you through how to write C code without using the Arduino SDK. Below is my final result, with comments explaining it.
//This is a pointer to the location in memory at hex number 0x25
//it is a 1-byte register defined by ATmega328p that controls the physical pins 14 thru 19 (mapping to bits 0-5)
//setting a bit to 0 means it's set to low, setting a bit to 1 means it's high
//setting it to volatile to alert the compiler this variable can change outside
//my code, so it doesn't optimize out this value
#define PORTB *((volatile unsigned char *)0x25)

//this is a pointer to the location in memory at hex 0x24
//this is the Data-direction register for PortB. It controls physical pins 14 thru 19 (mapping to bits 0-5)
//setting a bit to 0 means the pin is set to input mode, setting to 1 means it's output
//setting it to volatile to alert the compiler this variable can change outside
//my code, so it doesn't optimize out this value
#define DDRB *((volatile unsigned char *)0x24)

int main()
{
    //setup
    //by setting the 6th bit on this register to 1
    //It is setting the bit that controls physical pin 13, and saying it is an output pin
    //using bitwise OR to turn on the 6th bit without affecting the other bits in DDRB
    DDRB |= 0b00100000;

    // loop
    while (1)
    {


        //by setting the 6th bit on this register to 1
        //It is setting the bit that controls physical pin 13, and setting it to high
        //using bitwise OR to turn on the 6th bit without affecting the other bits in PORTB
        PORTB |= 0b00100000;

        //go to sleep for an arbitrary amount of time
        for (long i = 0; i < 100000; i++)
        {
            //to make sure the compiler doesn't optimize this out, continue
            //setting the 6th bit of portb to 1
            PORTB |= 0b00100000;
        }
        //setting PortB 6th bit to 0 sets pins PortB controls to low
        PORTB &= 0b11011111;
        //go to sleep for an arbitrary amount of time
        for (long i = 0; i < 100000; i++)
        {
            //to make sure the compiler doesn't optimize this out, continue
            //setting PORTB 6th bit to 0
            PORTB &= 0b11011111;
        }
    }
}
AVR gcc
Now that I have code that should run on my ATmega328p, I need to compile it! I can do this with the avr-gcc program. This lets me compile using a special version of gcc that compiles to an AVR microcontroller, instead of my x86-64 laptop.
To install, I first tried
sudo apt-get install gcc-avr
It gave the below suggested packages, but I’m trying to stay minimal, so lets see how far I can get without installing them.
Suggested packages:
  task-c-devel gcc-doc avr-libc
Note from Future Danielle: I don’t get that far without the
avr-libcpackage, I recommend installing it too
After I installed, I couldn’t find any man pages. I tried both man gcc-avr and man avr-gcc. When I tried running avr-gcc, I got a fatal error, no input files. So it did install the avr-gcc package, just no docs. Maybe need to install gcc-doc then? I ran sudo apt-get install gcc-doc, and it installed these packages:
gcc-7-doc gcc-doc.
But it still doesn’t work when I do man avr-gcc. When I watched Mitch’s video though, it shows the man page that shows up is actually the GCC man page. I can go there (man gcc) and when I scrolled down, I can see AVR options listed there.
NOTE I noticed it also has an option for MIPS, which I remember from my router research. So I wonder if I can write programs for my router and make it run my custom code?
The main man page doesn’t seem to have a lot of in-depth info about the avr side of things. It does mention a --help flag. Maybe that’ll trigger more AVR-specific help?
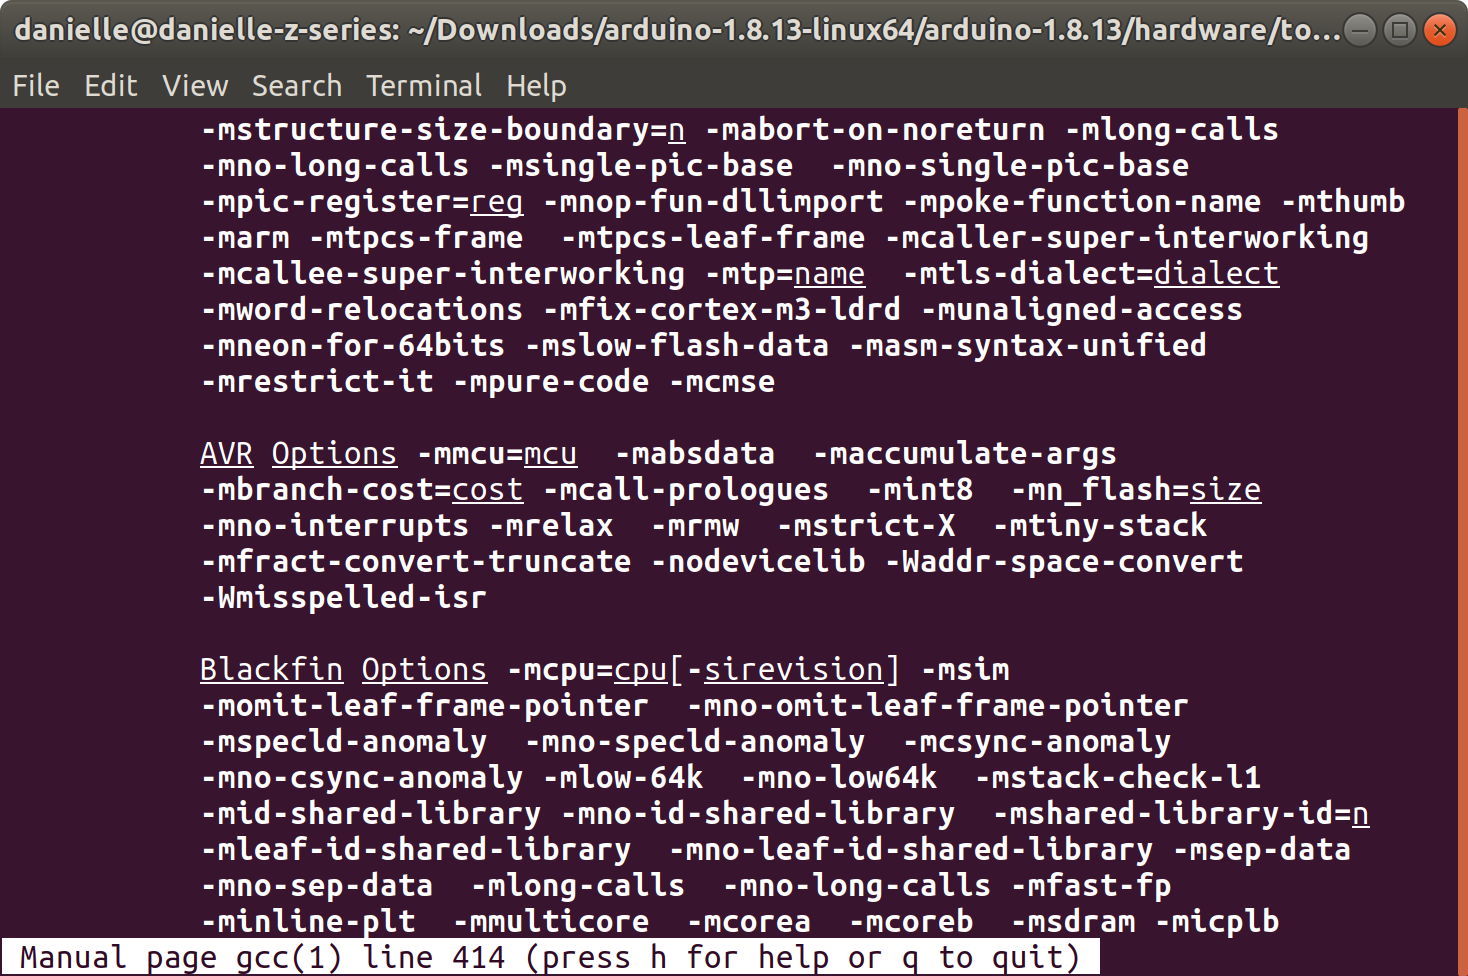
Running avr-gcc --help gives a small list of flags. But one of them is --target-help, which says it will Display target specific command line options. Well that sounds helpful! Running that command gives me a ton of info, so I put it into the less command to make it easier to scroll through.
avr-gcc --target-help | less
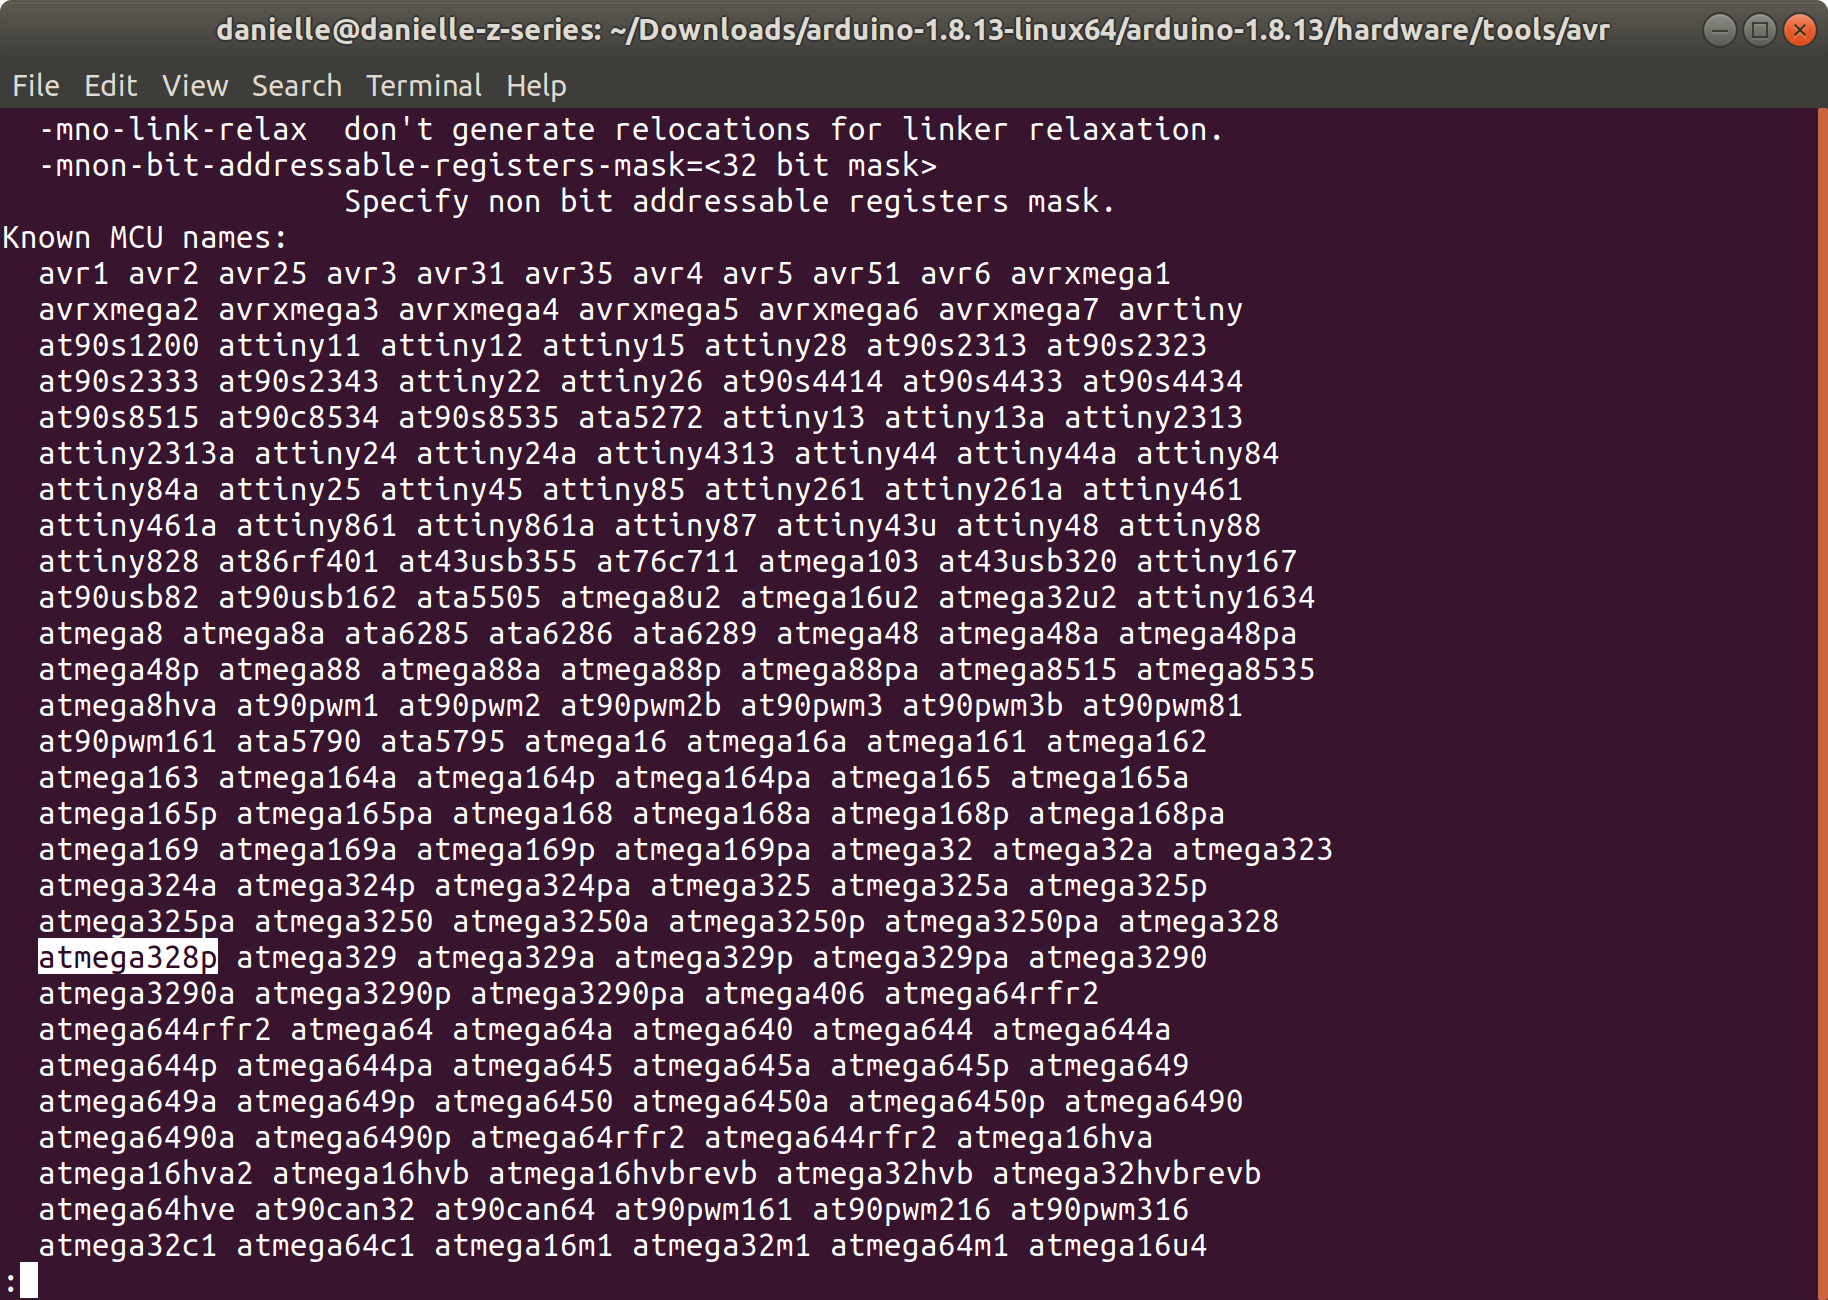 Ah! I can see that ATmega328 is a supported option for
 avr-gcc, that’s good!
Now that avr-gcc is installed, let’s compile! I tried to compile just the blink.c file, and…
avr-gcc -mmcu=atmega328p blink.c
/usr/lib/gcc/avr/5.4.0/../../../avr/bin/ld: cannot find crtatmega328p.o: No such file or directory
/usr/lib/gcc/avr/5.4.0/../../../avr/bin/ld: cannot find -lm
/usr/lib/gcc/avr/5.4.0/../../../avr/bin/ld: cannot find -lc
/usr/lib/gcc/avr/5.4.0/../../../avr/bin/ld: cannot find -latmega328p
collect2: error: ld returned 1 exit status
Errors! What’s this ld program? I do a man ld and see it’s the GNU linker. Well I don’t think I need that linker, cuz all my code is in one file and I’m not using any libraries. Lets see if I can turn that off…
NOTE a linker collects compiled files that should all be combined into a single program together. So it grabs precompiled libraries and adds them to your code if you call them at some point, stuff like that.
Looking at that --target-help more, I see this flag:
-nodevicelib Do not link against the device-specific library lib<MCU>.a
that seems useful, but after trying it, I get the same error. Maybe I should check the general gcc man page, and hunt for linker info there. The man gcc | grep linker command gives me a hint that maybe -c could be of help? Reading the flag info:
 Compile or assemble the source files, but do not link.  The linking stage simply is
       not done.  The ultimate output is in the form of an object file for each source file.
That sounds like what I want to do, so let’s try:
avr-gcc -mmcu=atmega328p -c blink.c
Using that, it compiles into blink.o. Progress! Opening up that file with bless hex editor, I can see that the file starts with .ELF, which stands for “Executable and Linkable Format”. I can confirm that it’s an ELF file type by using the file command
> file blink.o
blink.o: ELF 32-bit LSB relocatable, Atmel AVR 8-bit, version 1 (SYSV), not stripped
So now that it’s compiled, I need to send it to the ATmega328p. I can do this using the same tool I used last time to set the fuse bits, avrdude!
AVRdude
Since I don’t want to use the arduino IDE version of avrdude, I need to install avrdude myself.
To install, did:
sudo apt install avrdude avrdude-doc
(I’m not making the same mistake as last time, and grabbing the docs at the same time)
Once that’s complete, I now need to try to send over the blink.o ELF file. I can use my knowledge gained from last time to take a first stab at the command. I know to set what programmer I’m using, what chip I’m targeting, can set verbose logging, and need to set the port and baudrate. The difference is the -U setting. I don’t want to set the low fuse bit, I want to set the flash memory on the chip. And I want to write my blink.o file to it, and tell avrdude I’m using an ELF file. Reading through the online documentation I figure out what I should do. The (tentative) command to run should be:
avrdude -v -p atmega328p -c stk500v1 -P /dev/ttyUSB0 -b 19200 -U flash:w:blink.o:e
I try that and… aw, errors galore!
Specifically, AVRdude is saying the ELF file isn’t an executable. And in fact, you can see that in the file command I ran. It’s not a LSB executable, it’s a relocatable. Removing the linker step with the -c flag means I’m not making an executable. Dang!
Looking at the error from when I tried to compile without the -c flag earlier, it’s complaining about a missing file crtatmega328p.o. That sounds like a compiled c file that’s called “crtatmega328p”. Which matches what chip I’m targeting. And it’s the linker that’s having issues. So my theory: avr-gcc default pulls in compiled c files for the given target MCU. Those files aren’t downloaded as part of the avr-gcc package. Looking back at the suggested packages way back when I first installed avr-gcc, I see a package that’s called avr-libc. That sounds like a package with a bunch of c libraries in it to me. I can run sudo apt show avr-libc to see more info on the libc package, and see the below description:
Description: Standard C library for Atmel AVR development
Standard library used to the development of C programs for the
Atmel AVR micro controllers. This package contains static
libraries as well as the header files needed.
Yup, that sounds like what I need. I install that, and then try to run my initial avr-gcc command again, without the -c flag, and it builds. I ran a file command on the output, and it’s now an executable! I try again with my avrdude command earlier, and it works! I’m now flashing an LED on and off with my ATmega328p and no Arduino IDE!
So, with gcc-avr, avr-libc, and avrdude packages installed, I can upload code with only two commands:
avr-gcc -mmcu=atmega328p blink.c
avrdude -v -c /etc/avrdude.conf -p atmega328p -c stk500v1 -P /dev/ttyUSB0 -b 19200 -U flash:w:a.out:e
The other way
Now all this was me kind of going at it from first principles. I wanted to figure out how to get this working with the minimal of mysterious command line invocations. HOWEVER, this isn’t the way that people on the internet want you to do it. They all say after you compile your code, you need to convert it into an intel hex file, then send that to the MCU using avrdude. I haven’t seen why you convert it to hex, beyond that’s what people do. There’s also a line from Mitch Davis saying he didn’t know how to get the compiled file from avr-gcc over to the MCU, so I’m wondering if the e format for AVRdude is a new feature?
Anyway, to convert the ELF executable to hex, you can use the avr-objcopy command, which I think comes over with the avr-gcc package. As part of the conversion, you can also tell it to only copy the relevent parts of the executable, namely, the text and data sections. This does have the nice affect of shrinking the file down. The initial version of the a.out file is 6520 according to the ls -l command, and the output after avr-objcopy is only 860! So that’s certainly a nice feature of using avr-objcopy. But if you’re just doing a blink project like me, I suspect size doesn’t really matter.
if you want to make a hex file and send it over:
avr-gcc -mmcu=atmega328p blink.c
avr-objcopy -O ihex -j.text -j.data a.out a-small.hex
avrdude -v -c /etc/avrdude.conf -p atmega328p -c stk500v1 -P /dev/ttyUSB0 -b 19200 -U flash:w:a-small.hex:i
Playing with Size
Now that I have a working set up, I want to tinker a bit. For embedded systems, minimizing the size of your code can be important, since they’re so much more restrained, memory-wise, than other systems you’re used to programming. Right now I’ve been running avr-gcc without any more than the bare-minimum, but I can make the compiler compile things smaller or faster, with the use of optimization flags! Poking through the gcc man file, I found the -Os flag optimizes for size, which is what I’m after right now. The man page says:
-Os Optimize for size.  -Os enables all -O2 optimizations that do not
       typically increase code size.

       -Os disables the following optimization flags: -falign-functions
       -falign-jumps  -falign-loops -falign-labels  -fprefetch-loop-arrays

       It also enables -finline-functions, causes the compiler to tune for
       code size rather than execution speed, and performs further
       optimizations designed to reduce code size.
And as I mentioned earlier, the official process for uploading code using avrdude includes using an avr-objcopy command to convert it to hex. My working theory is that has something to do with code size, so let’s do some scientific inquiry to see if that’s the case. I’ll try a bunch of different compilation, grabbing only .text and .data sections, and converting to hex, and see if one version is smaller than another. My plan is to take my blink.c file, and do the following.
- compile without optimizations
- compile with optimizations
- For each version (with and without optimizations)
- grab only .text and .data pieces
- convert to hex
- take the ELF that has only the .text and .data pieces, convert to hex
So the commands for this were as follows:
avr-gcc -mmcu=atmega328p -o a.out blink.c
avr-gcc -Os -mmcu=atmega328p -o a-small.out blink.c

#deal with a-small.out
avr-objcopy -O ihex a-small.out a-small.hex
avr-objcopy -j.text -j.data a-small.out a-small-trimmed.out
avr-objcopy -O ihex a-small-trimmed.out a-small-trimmed.hex

#deal with a.out
avr-objcopy -O ihex a.out a.hex
avr-objcopy -j.text -j.data a.out a-trimmed.out
avr-objcopy -O ihex a-trimmed.out a-trimmed.hex
And the size results:
-rw-rw-r-- 1 danielle danielle    987 Jun  4 13:13  a.hex
-rwxrwxr-x 1 danielle danielle   6564 Jun  4 13:12  a.out
-rw-rw-r-- 1 danielle danielle    508 Jun  4 13:12  a-small.hex
-rwxrwxr-x 1 danielle danielle   6396 Jun  4 13:12  a-small.out
-rw-rw-r-- 1 danielle danielle    508 Jun  4 13:12  a-small-trimmed.hex
-rwxrwxr-x 1 danielle danielle   1792 Jun  4 13:12  a-small-trimmed.out
-rw-rw-r-- 1 danielle danielle    987 Jun  4 13:13  a-trimmed.hex
-rwxrwxr-x 1 danielle danielle   1960 Jun  4 13:13  a-trimmed.out
Some conclusions we can draw for this particular program:
- if it’s converted to hex, it doesn’t matter if we grab only the .text and .data pieces, or if we take the whole thing to convert to hex, it comes out the same size. So either the conversion to hex only uses the .text and .data pieces, or my program doesn’t use anything besides the .text and .data bits, so it doesn’t matter.
- Running the optimization at the compiler level helps both at the initital compilation, and when converting to hex. Which would be frankly weird if this wasn’t the case, but now I have some proof.
Conclusion
This was super fun! I got to build out an embedded system toolchain (minus on-chip debugging functionality), and read a lot of man pages in the process. Using the Arduino Uno as an initial jumping-off point for microcontrollers feels really helpful, and let me get into toolchains and programmers and debuggers in a real step-by-step process.
Now that I’ve got my feet wet, it’s time to expand my knowledge pool! I had a quick shopping spree at Adafruit (they’re so easy to have a shopping spree at…), and now have some goodies to help me learn about Bluetooth Low Energy, STM32, ESP32, and Real Time Operating Systems.
Resources
Embedded for everyone github repo: https://github.com/nathancharlesjones/Embedded-for-Everyone/wiki/1.-Getting-to-%22Blinky%22-with-a-new-MCU
Bare-metal MCU playlist: https://www.youtube.com/watch?v=7lcY5tcP_ow&list=PLNyfXcjhOAwOF-7S-ZoW2wuQ6Y-4hfjMR&index=6
AVRdude Documentation: https://www.nongnu.org/avrdude/user-manual/avrdude_4.html#Option-Descriptions