Taking Things Apart For fun and ... well, mainly fun
I’ve been in a hands-on, physically-fixing-stuff sort of mood, so I’ve finally gotten around to two electronic projects on my list for a while: Fixing the joystick drift on my Nintendo switch, and breaking down an old printer for its parts. So I thought I’d do a quick write up about them, along with some pics of my tear-downs.
Nintendo Switch
Like many people, I’ve recently been dealing with joystick drift on my Nintendo switch. It’s a physical component defect in most switch’s controllers, though I believe Nintendo is fixing it in later models. After using the joystick for a while, it starts sending phantom signals to the controller, so the games read the joystick as being moved, even when you’re not touching it. This can be really frustrating if you play precision platformers, or even just choosing dialogue options in Animal Crossing. I’d basically stopped using my switch because the drift was so annoying.
But, being the lucky go-getter I am, I decided to try my hand at replacing the joystick component myself, instead of buying a whole new joycon controller. Ifixit is a great website to go to if you want to do this sort of thing, and they have both a pretty easy-to-follow guide ( https://www.ifixit.com/Guide/Left+Joy-Con+Joystick+Replacement/113182 ), plus a kit with all the pieces you need ( https://www.ifixit.com/Store/Game-Console/Nintendo-Switch-Joy-Con-Joystick/IF378-015?o=3). I already had Ifixit’s essential repair kit, so I figured it’d be easy to buy just the joystick component, follow the instructions, and bam, all done!
Sadly it wasn’t quite that easy. First off, their essential repair kit, which has the screwdriver tips needed to unscrew the wonky screws that Nintendo uses, has changed over time. So the version I bought didn’t have the Tri-point Y00 screwdriver bit needed to unscrew the outer casing of the joycon controller. I didn’t realize that until after I had bought the joystick component, so I had to do two orders to ifixit to get all the pieces. On the plus side, I got a sweet new t-shirt ( https://www.ifixit.com/Store/Tools/Never-Take-Broken-T-Shirt/IF179-031?o=1), because I didn’t want to pay 5 bucks shipping for a 4 dollar screwdriver bit , but I digress. (I could have also just bought their joystick replacement kit that comes with all the tools needed, but I was stubborn and wanted to save a couple bucks, which back-fired)
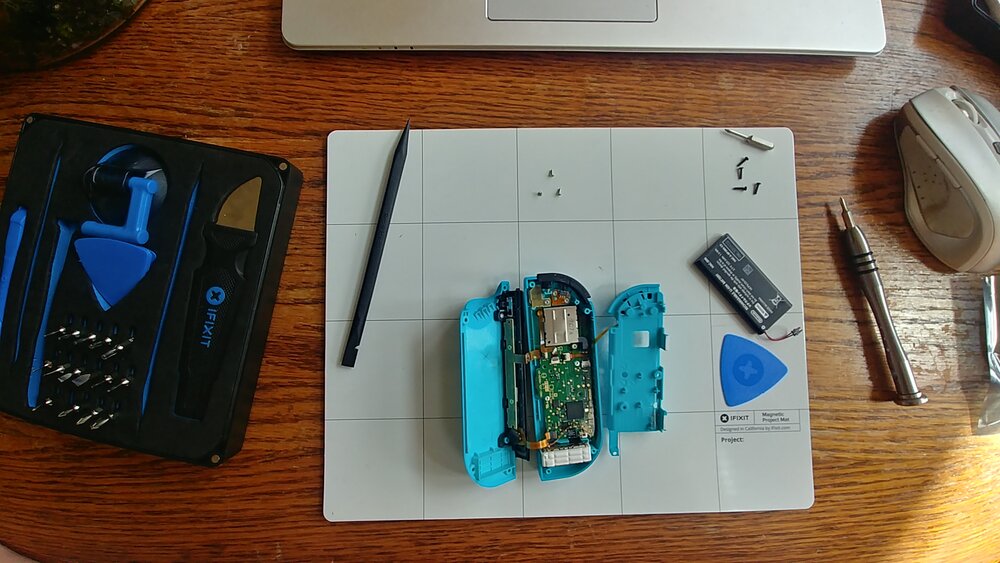
Once I had all the parts, the actual replacement was pretty easy! Most of it is just removing the correct screws, and being careful of the ribbon cables that hold different pieces together. Probably the hardest part of the whole thing is the three ribbon cables you have to detach then re-attach in order to get to the joystick component. Ribbon cables inside modern electronics are great for connecting components and keeping the space inside electronics small, but they can be delicate, and it’s easy to rip or damage them if you use too much force. The ribbon cable connections in the controller are Zif connectors ( https://www.ifixit.com/Guide/Recognizing+&+Disconnecting+Cable+Connectors/25629# s64969), so they don’t require much force (in fact “ZIF” stands for “zero insertion force”). Flip the little lever and the cables slide out! Re-connecting the cables was a bit more difficult, because the connector and the cable are both small, so it’s similar to threading a needle without a needle threader tool. Doable, but kind of a pain. Slip the cable in and flip down the lever, and bam, done. I took lots of pics of the process, take a look!
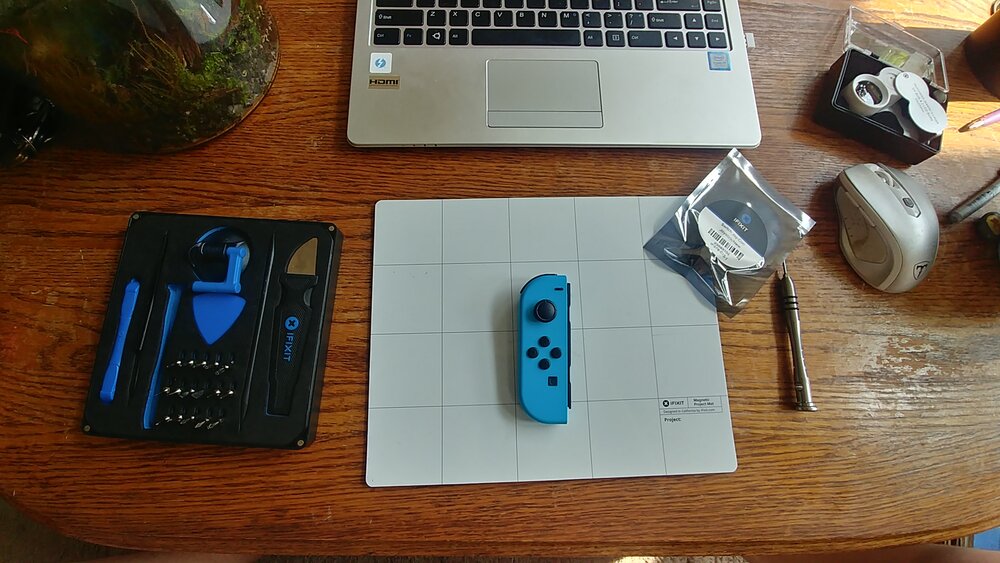
The beginning…
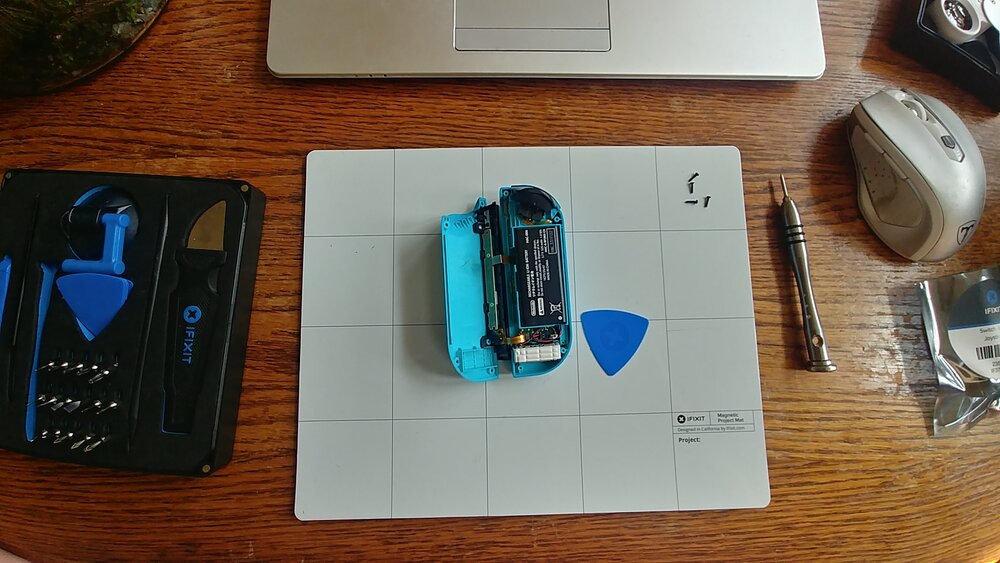
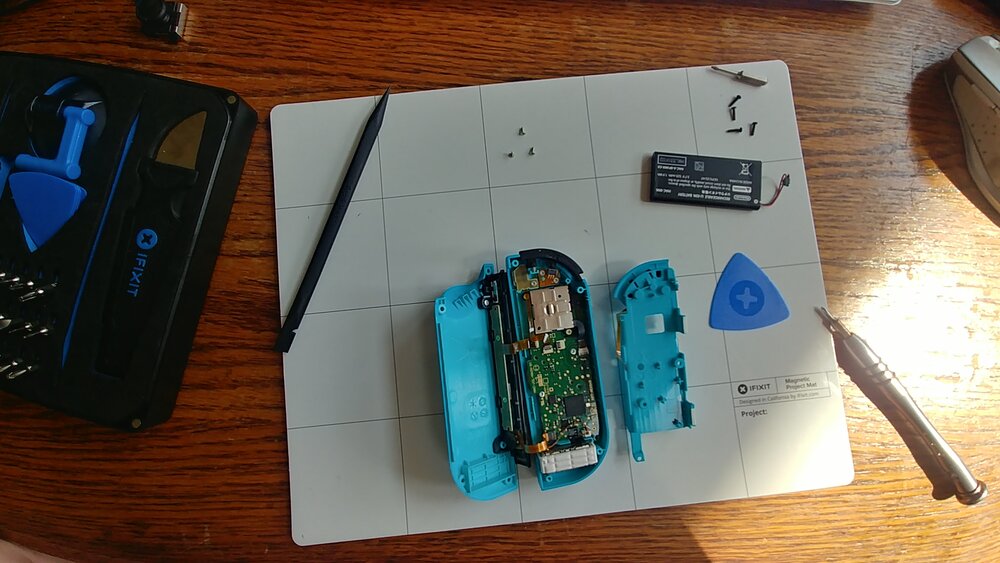
Opening up the case
Battery removed, no longer worried about bending it too much and it exploding!
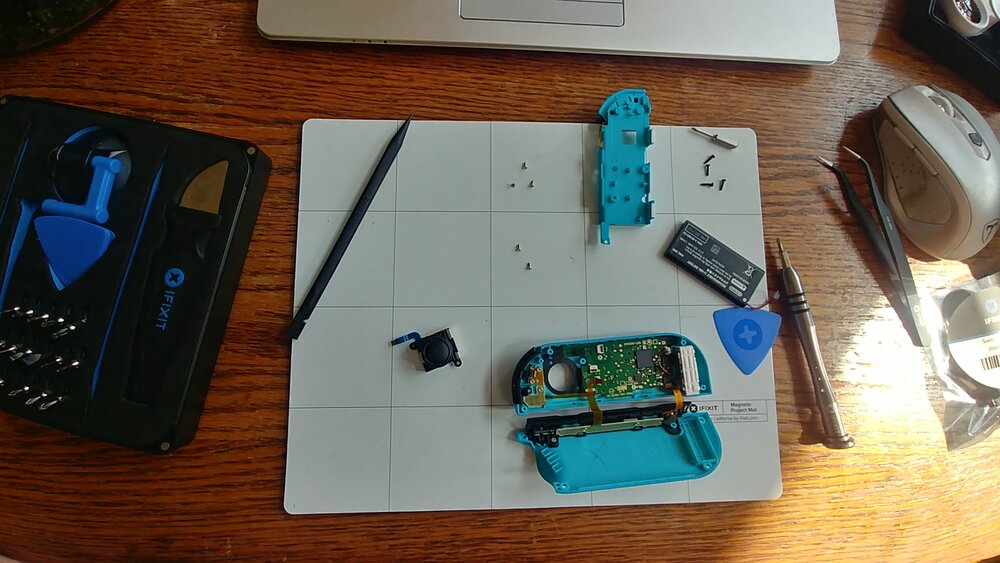
Joystick component out! Now to put it back together…
The ribbon cables FINALLY reconnected
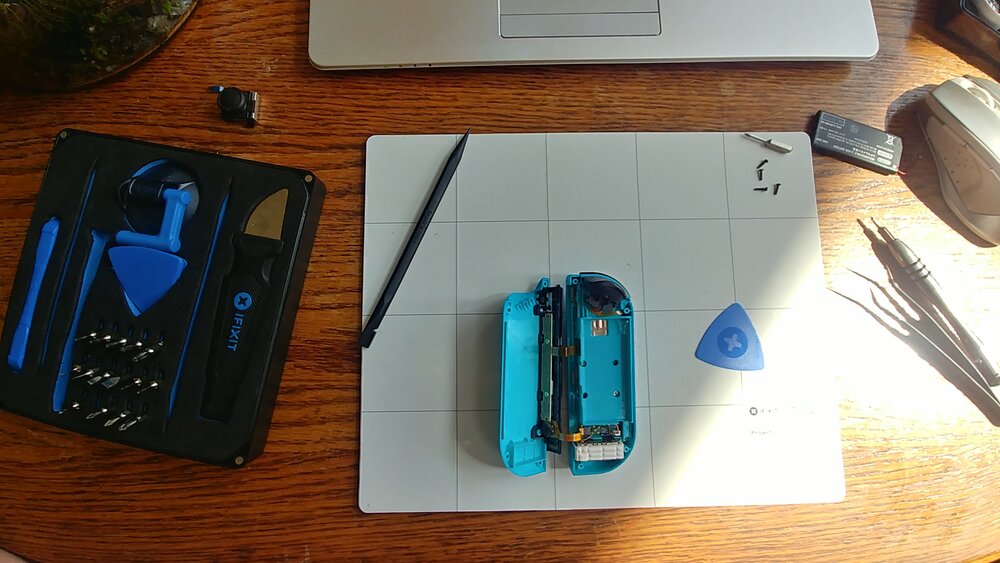
Middle case back on, just the battery left
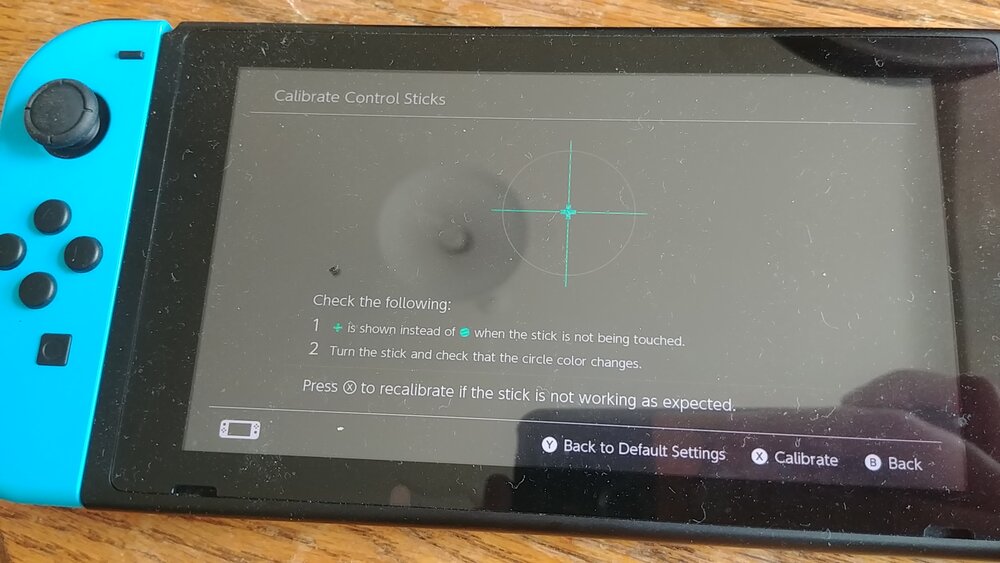
Proof the new joystick works! No drift!
Final verdict: anxiety-inducing, but easy if you go slow. In fact, I only attempted this in the first place because a person I follow tweeted that it was about as hard as threading a tricky serger (which I’ve done), and they were right!
Tonight I replaced the joystick on my original pair of Switch Joycons….successfully!
Overall difficulty level: about the same as threading a tricky serger. pic.twitter.com/97EuANUX60— Heidi, on vacation (@wiredferret) August 13, 2020
Printer Tear-down
A couple years ago I got my hands on The Big Book of Maker Skills ( https://www.simonandschuster.com/books/The-Big-Book-of-Maker-Skills-(Popular-Science)/Chris-Hackett/9781616287269). Besides having a wealth of info on tools of all sorts, the author Chris Hackett also talks a lot about something he calls “obtanium”. Basically, it’s everything that’s thrown out that can be deconstructed or salvaged into something useful. Grabbing thrown out pallets for their wood, old electronics for their motors, magnets, or lenses, and so on. That idea and word has stuck in my head, and honestly hasn’t helped my already strong pack-rat tendencies. So when I had an old printer that stopped working, I certainly wasn’t going to throw it away! However, life got in the way, so it’s just been sitting in my garage, waiting for the time to be salvaged. The time finally came, and a couple nights ago I spent a constructive evening with a screwdriver and some brute force, getting all the interesting bits and pieces I could out of it.
I’ve never taken apart a printer before, so it was a fun exploratory thing! If you ever need plastic gears, printers have them in spades.
But what I knew was in there that I wanted was the stepper motors and LED bar. Printers need motors of some sort of to pull the paper through the printer, so I knew it must have at least one. And the printer also had a flatbed scanner, so I guessed it must have a row of super bright LEDs that it uses to illuminate the paper, since I remember scanning things with the lid open and getting blinded as a kid.
After wrestling with the plastic outer shell (which I could be rough with since I wasn’t putting it back together), I managed to get quite a bit of loot. Final tally: two motors, some nice PCB boards, what looks to be an LED light strip with another small motor attached, a display with a keypad, and a small speaker.
I made sure to keep the ribbon cables, and some of the plastic pieces around the motors. One motor was attached to a belt that turns a long plastic rod, the other is attached to the printer head. Both setups seem like they’d be useful for future projects. In fact, I seem to remember an advanced useless machine using printer parts… (e.g. https://hackaday.com/2018/08/17/multi-switch-useless-box-is-useless-in-multiple-ways/)
Below are some pics of the tear down process, and my final loot!
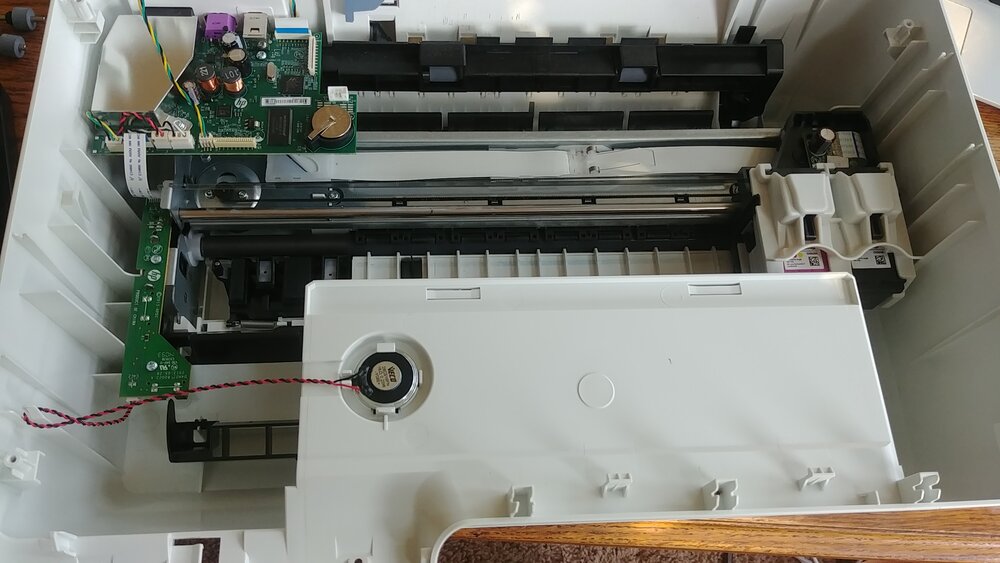
First view after the lid is off.
Look at all that sweet, sweet obtanium…
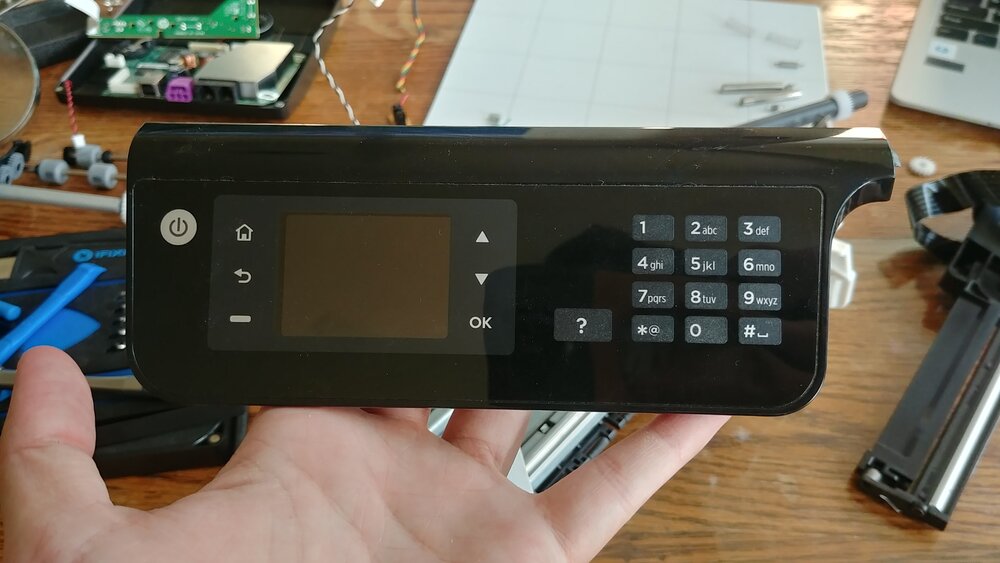
The keybad to control the printer.
With the ribbon cable still attached, may be able to use this elsewhere?
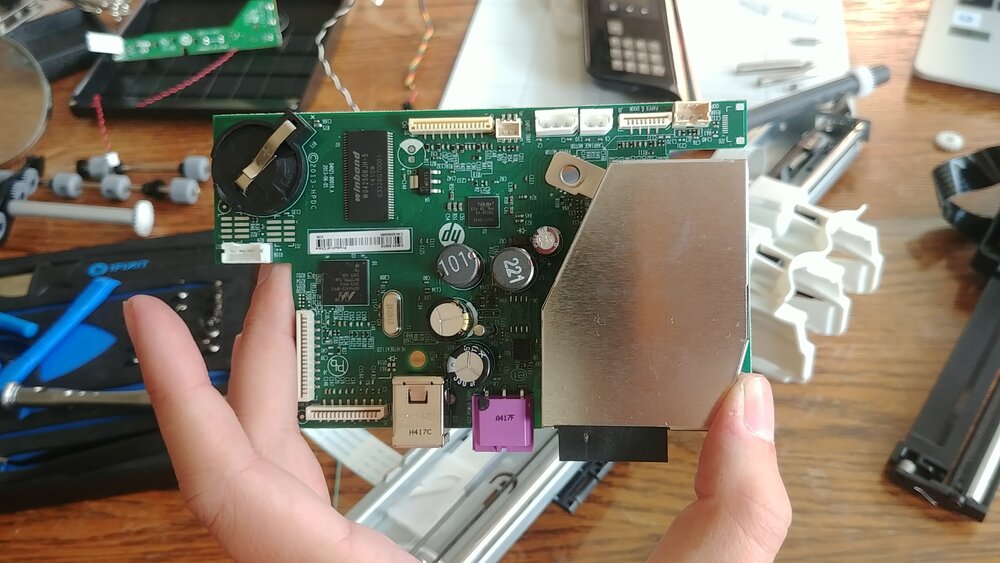
All the brains of the printer on this little PCB.
May be fun to poke around at the chips and capacitors to see what I can discover…
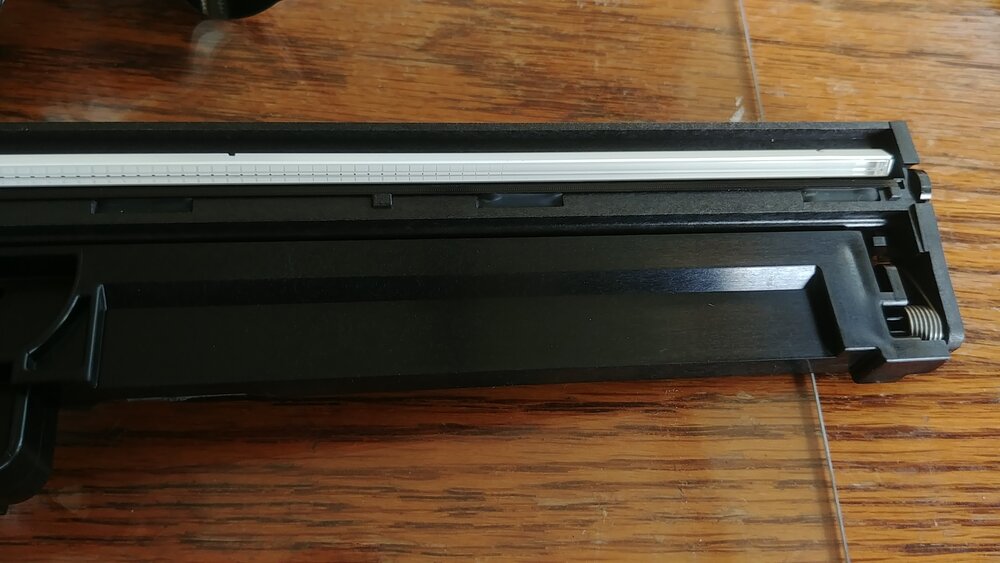
What looks like an LED strip
Taken from the scanner bed
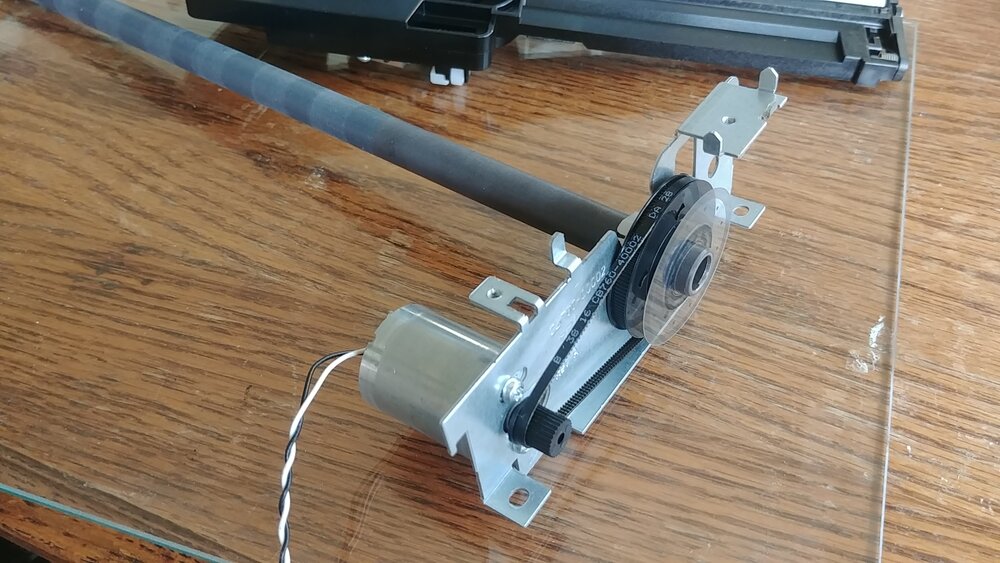
Motor attached to a belt
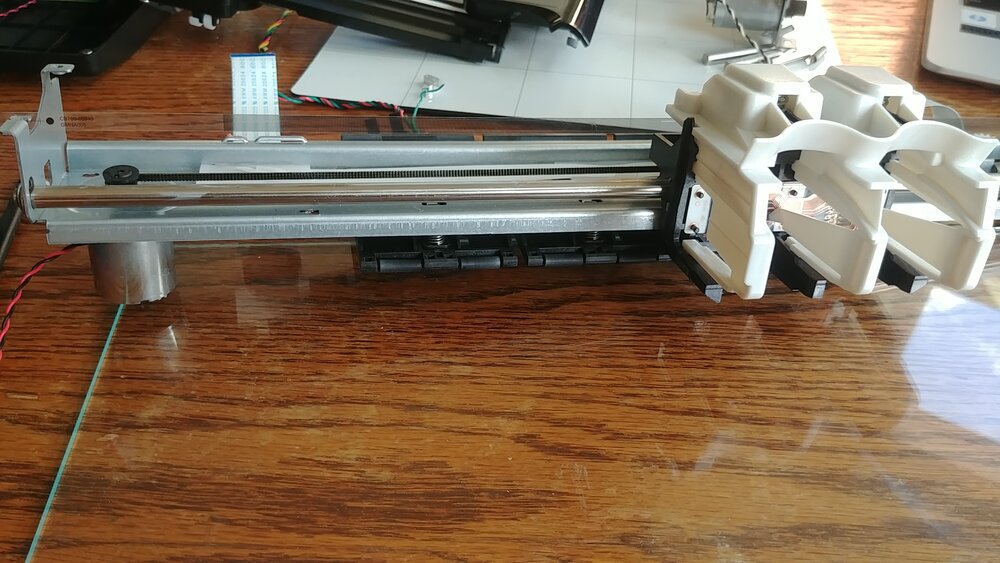
The printer head assemblage
With the motor and the rest all together still, may be able to use it for the Useless Machine, or some other fun project
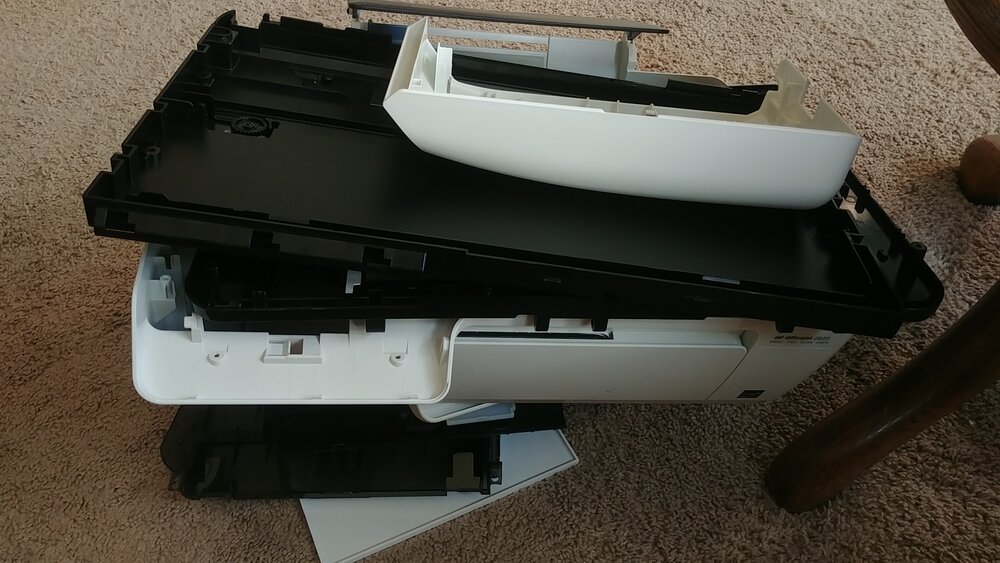
The remains of the printer…
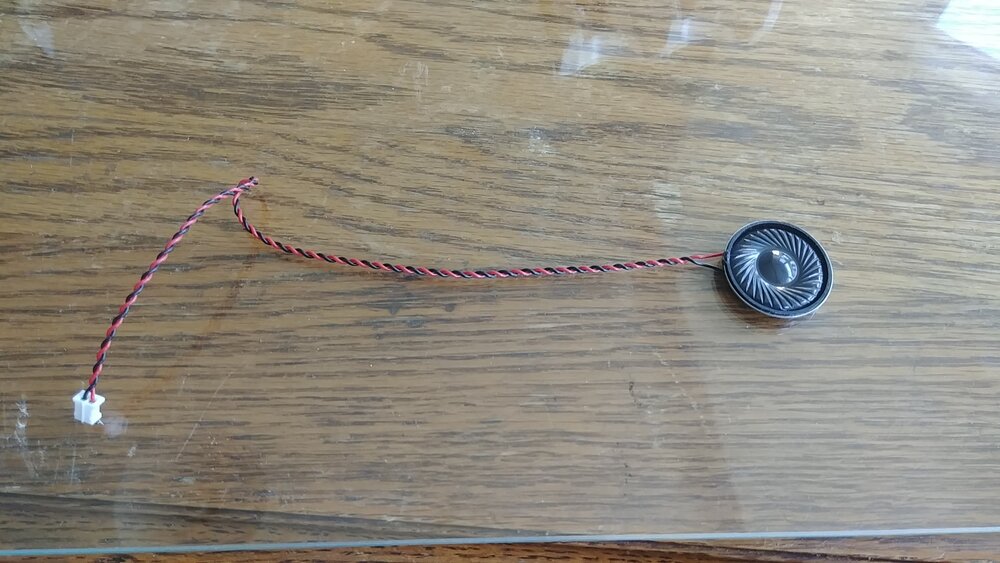
A cute little speaker!
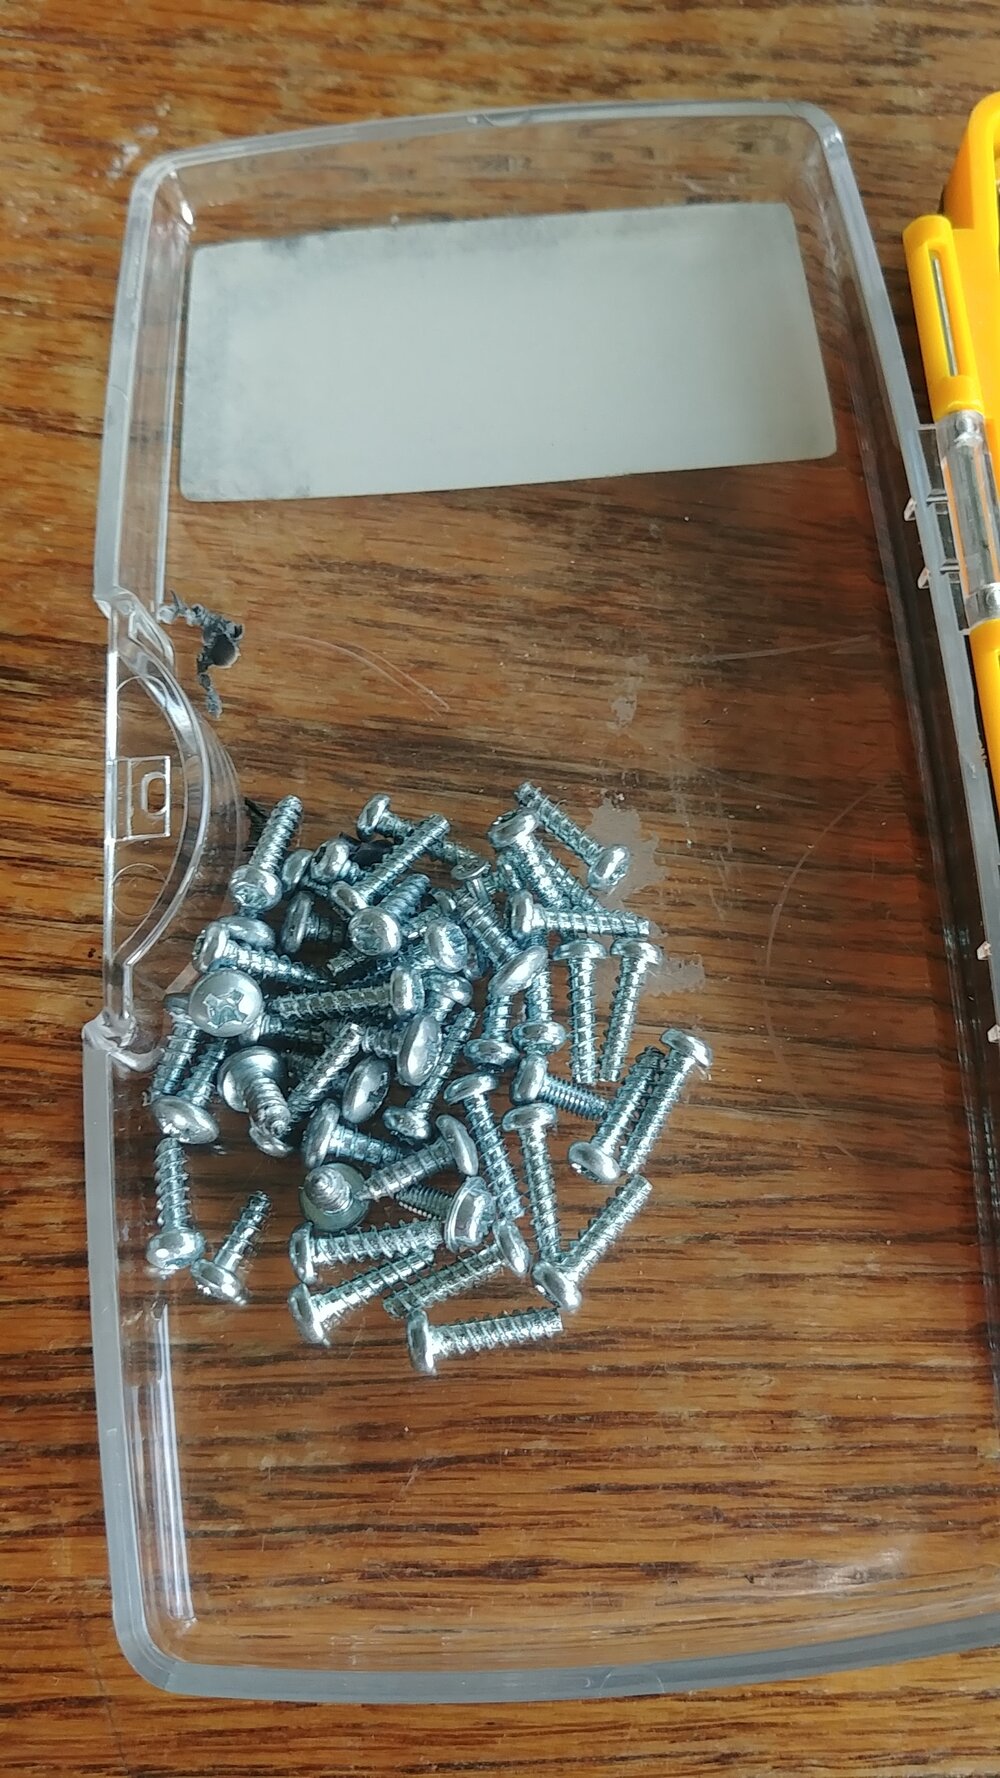
So many star-bit screws…
Final Verdict: Fun! Not having to put it back together, and not having any firm plans on what to harvest from the printer made it way less anxiety inducing than fixing the switch controller. I could be rough with the plastic container, and yank on stuff, and if it broke, all well, the printer was broken already, who cares.